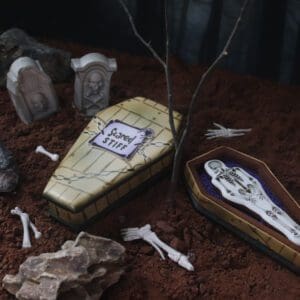

Scared Stiff?
No reason to be! Julia’s Halloween Coffin and Skeleton kit, the debut kit in her Kitchen Club, is very easy to use, especially if you purchase the kit bundle that contains the companion instructional video. In that video, Julia starts

No reason to be! Julia’s Halloween Coffin and Skeleton kit, the debut kit in her Kitchen Club, is very easy to use, especially if you purchase the kit bundle that contains the companion instructional video. In that video, Julia starts
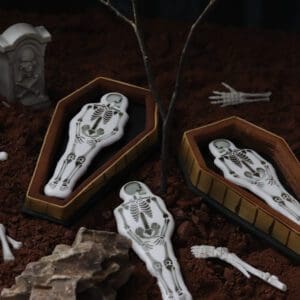
Is it possible to be creepy and alluring at the same time? These bone-afide beauties (pun intended!) definitely prove so. Made with the skeleton cutter and stencil in Julia’s Halloween Coffin and Skeleton kit, her Kitchen Club debut kit, these
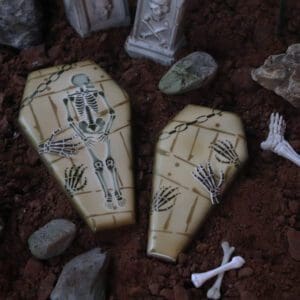
Two spooky 2-D caskets! While Julia’s full-blown Halloween Coffin and Skeleton kit provides all of the tools and video instruction to make fully 3-D coffins with skeletons inside, you can also purchase the starter kit and get your feet wet
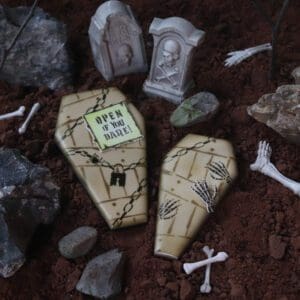
Made with Julia’s starter 2-D Halloween Coffin and Skeleton kit, these two coffin cookies are every bit as tempting as her 3-D versions shown elsewhere in this gallery. Plus, they’re the perfect project for those just beginning with airbrushing and
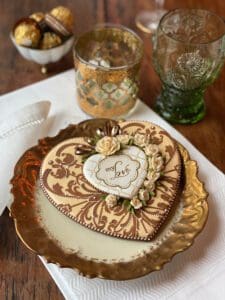
Made for Julia’s 2022 icing fundamentals course at the International Cake Show Australia (ICSA), this double-decker cookie is a study in stenciling. The large ivory heart was stenciled with royal icing using a masked-off cake stencil, whereas the small white
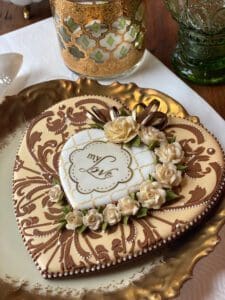
Here’s a side view of Julia’s double-decker heart cookie made for her 2022 appearance at the International Cake Show Australia (ICSA). Notice the delicacy of her piped royal icing roses?! It’s achieved by using a very thick icing and a
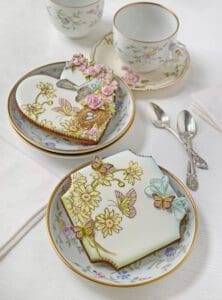
The detail on these cookies belies their ease. Because they rely heavily on the relatively quick rubber-stamping technique, they are actually a lot simpler than they look. Just stamp the cookies and a few fondant sheets, dust them with compressed
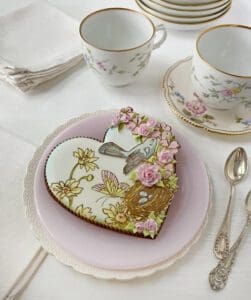
Here’s that beautiful rubber-stamped and dusted bird cookie all by itself and a wee bit closer. Rubber-stamping without missing spots or smearing the coloring can be a little tricky. Fortunately, Julia has a sure-fire method to avoid these pitfalls that
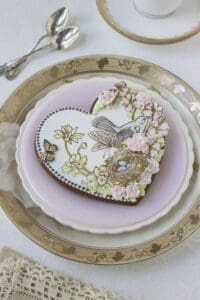
Another stamped bird cookie, but on a gilded plate with different props. Isn’t it amazing how a simple change to the photo-styling can create a very different feeling? Julia often tries out multiple props (many gathered from her days as
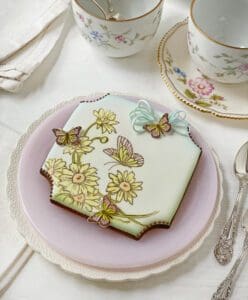
Of course, the same stamped fondant pieces can be arranged in so many different ways, leading to almost limitless designs. To create this look, Julia dispensed with the bird you saw elsewhere in the gallery and added a bevy of
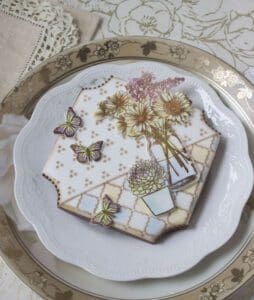
Okay, one last rubber-stamped still life in this series, just to demonstrate this style’s versatility! This cookie uses the same vase shown on another cookie in this gallery, but it has an added succulent and more tiny butterflies. Just by
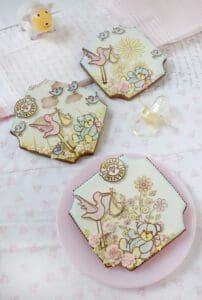
As always, Julia likes to change up photo angles whenever she shoots, even if just to put more visual emphasis on a particular cookie in a set. Here, the focus is on the all-stamped cookie in the foreground. Its floral
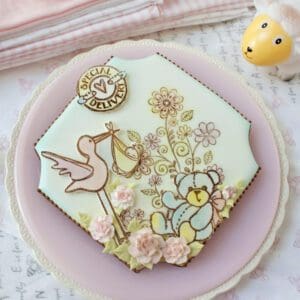
Here’s a closer view of Julia’s all-stamped baby shower cookie shown elsewhere in this gallery, just so you can take in all of the details. Well, it’s almost all-stamped . . . The dainty roses and leaves in the foreground
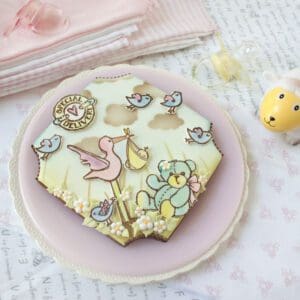
Ooh! It looks like some stenciling sneaked into this cookie in Julia’s rubber-stamped baby shower set. While all of the elevated fondant foreground elements were rubber-stamped, the background clouds and grass were airbrushed and stenciled. For an in-depth video tutorial
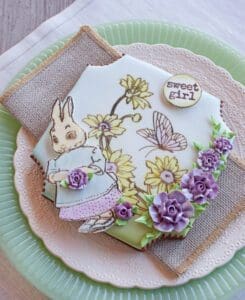
Here’s another design using Julia’s rubber-stamped appliqué approach. While made for a baby shower, it would also make a darling Easter cookie. Again, all of the elevated foreground elements were rubber-stamped on fondant, cut out, and then dried before being
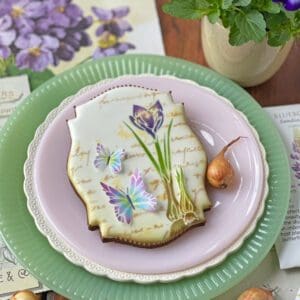
Don’t the butterflies on this cookie look like they’re taking flight? That’s because their wings were airbrushed on wafer paper, cut out, and then attached to the cookie with piping gel. (A little propping with paper towel was needed to