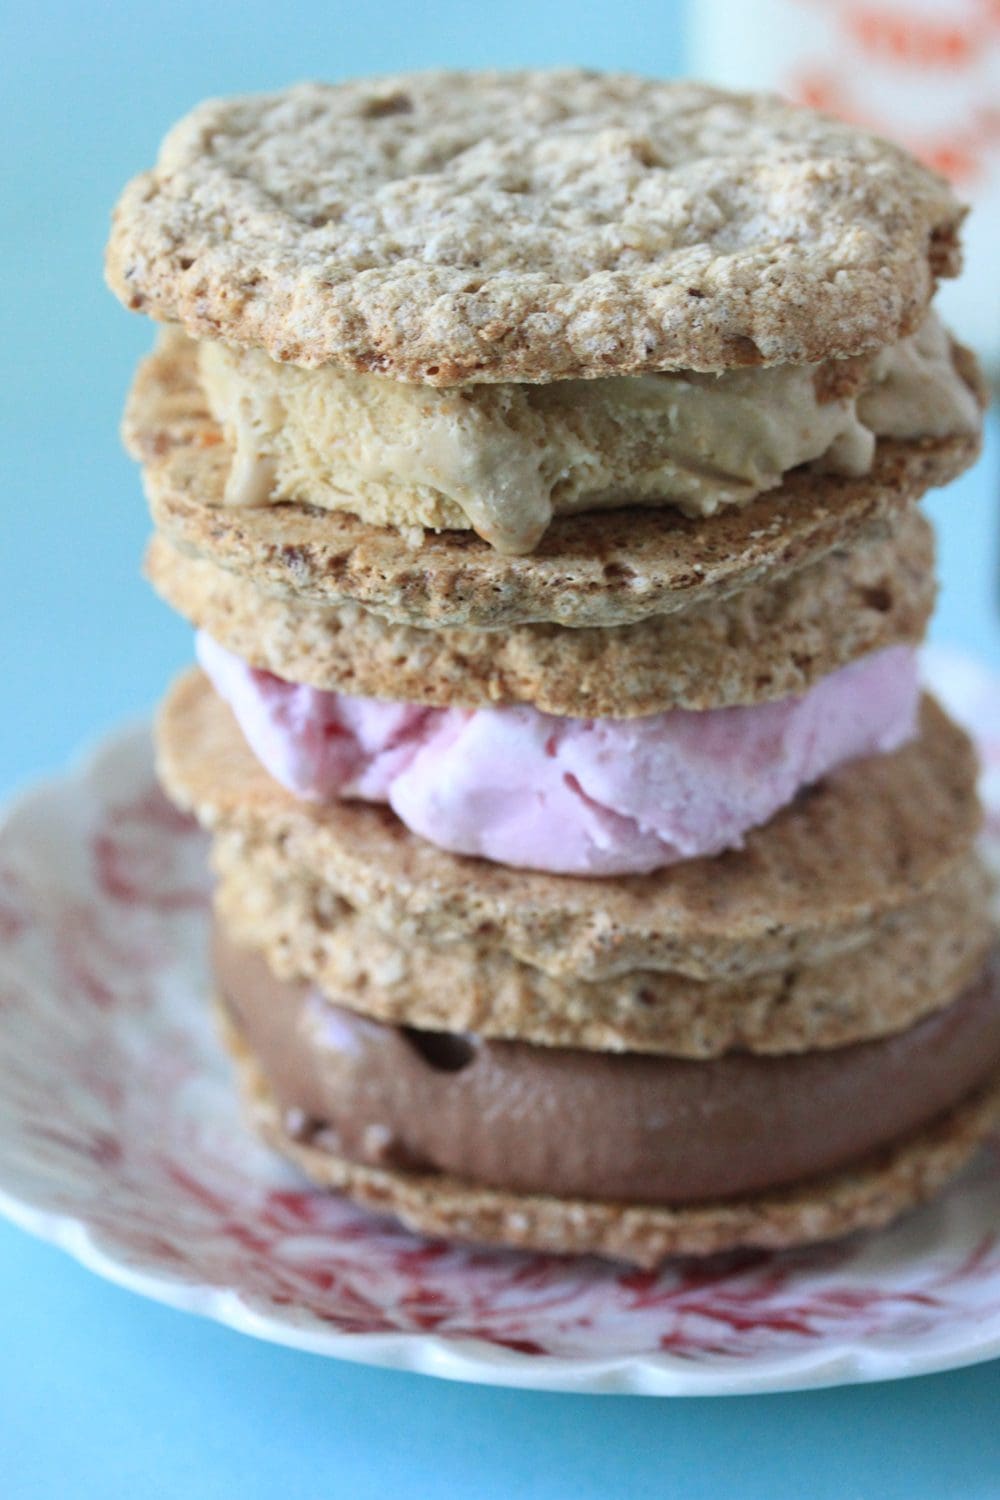

The country cousin of the fancy macaron, dacquoise has all the same great flavor and texture, but none of the hassle! Layer these nutty disks with buttercream or other fillings to make elegant tortes, or stuff them to overflowing with ice cream for a more rustic summertime dessert.

About 28 (3-in/7.6-cm) disks
1 | Prep your baking pans. Meringue, which is the base of this recipe, is best piped and baked as soon as it is prepared. (If it sits too long, it can lose some of its characteristic fluffiness.) That said, it’s important to prep your baking sheets and preheat your oven in advance, so there’s no time lost doing these things after the meringue is whipped. For small (ice cream sandwich-size) dacquoise, trace 28 3-inch (7.6-cm) circles on four or five sheets of parchment paper sized to fit your cookie sheets. (Of course, larger dacquoise can also be made.) Turn the paper marked-side down and secure it to the back side of your cookie sheets using a touch of shortening or butter at each corner as “glue”. (I like to bake on the back side of cookie sheets with sides, as cookies tend to cook and brown more evenly this way.) Preheat the oven to 325°F (163°C).
2 | Grind the nuts. Place the nuts, half of the sugar, and the cornstarch in the bowl of a food processor. Pulse the nuts and sugar just until they are ground to a fine powder. While the cornstarch helps keep the mixture from being over-ground and turning into nut butter, do watch closely. The mixture should remain powdery at all times. (Important: Don’t be tempted to add all of the sugar to either the nuts or the meringue. It’s important to divide it as instructed here or your dacquoise will end up with a spongy, rather than crun-chewy, texture!)
3 | Make the meringue. Place the cold egg whites and cream of tartar in the clean bowl of an electric stand mixer. (Be sure the bowl and any tools you use have absolutely no fat on them or your egg whites will not whip to stiff peaks.) Whip the whites on medium speed until frothy and then gradually add the remaining 1/2 cup (3.5 oz/98 g) granulated sugar. Turn the mixer to high speed and continue beating until the meringue holds stiff, but not dry peaks. (See my video below for a visual of the desired end result.) Beat in the vanilla extract and any other flavorings until just incorporated.
4 | Fold in the ground nuts, pipe, and bake. Turn the meringue into a large, shallow bowl and gently fold in the ground nut mixture in three additions. Do not stir or you run the risk of deflating the meringue. (Again, for a visual of the folding process, check out my related video below.) Transfer the mixture to a large piping bag fitted with a coupler and pipe it into the traced rounds on your baking sheets.
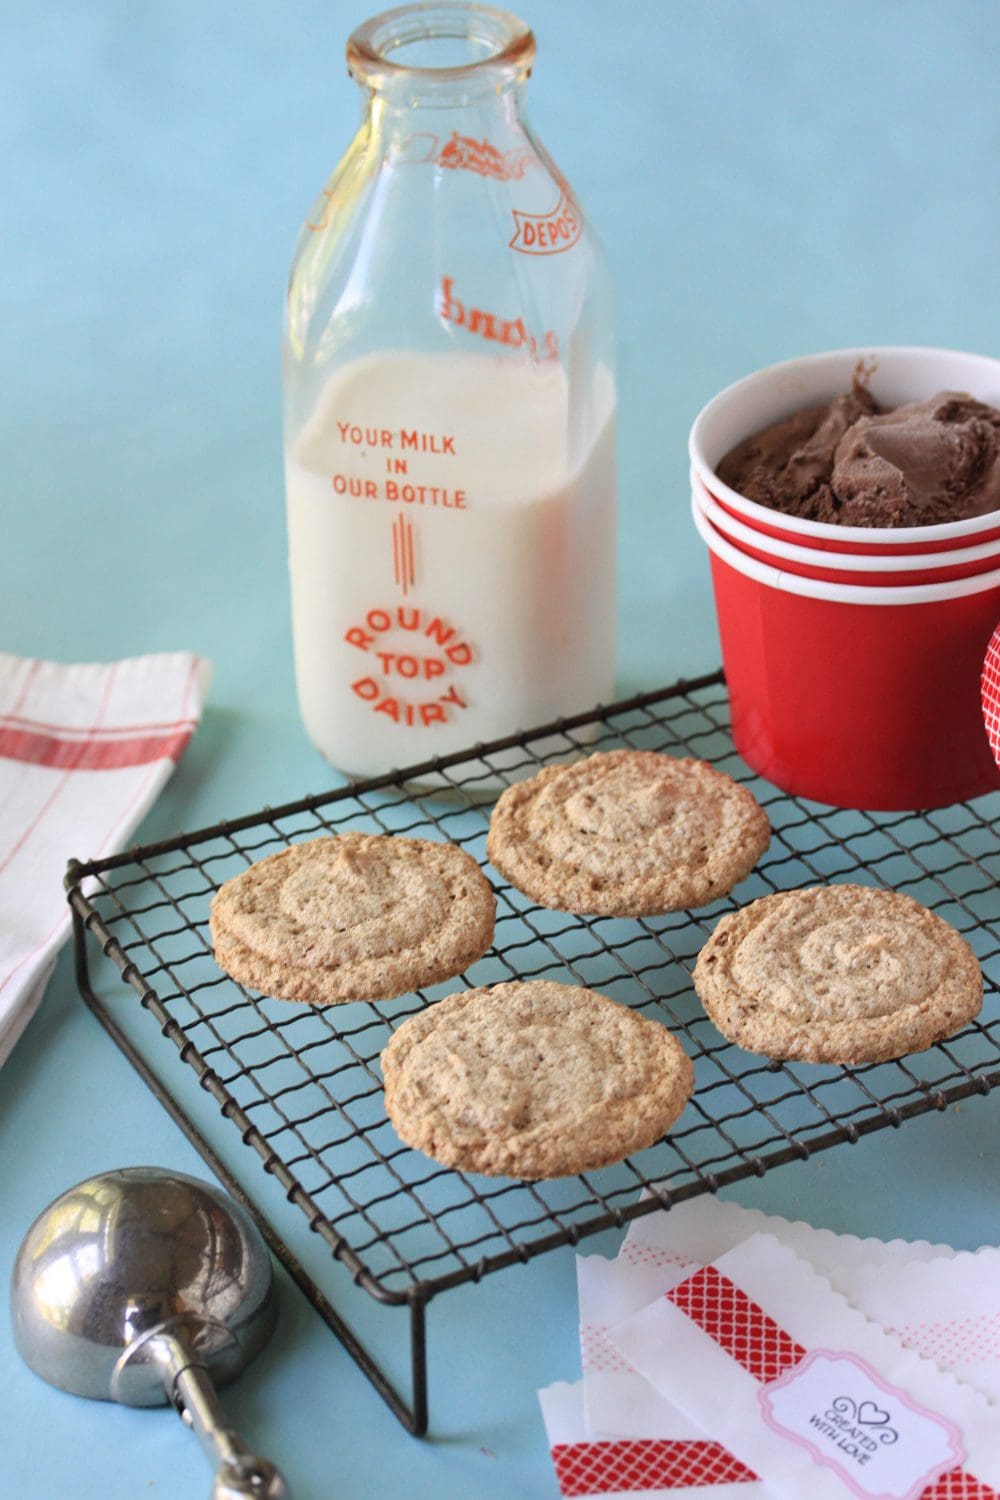
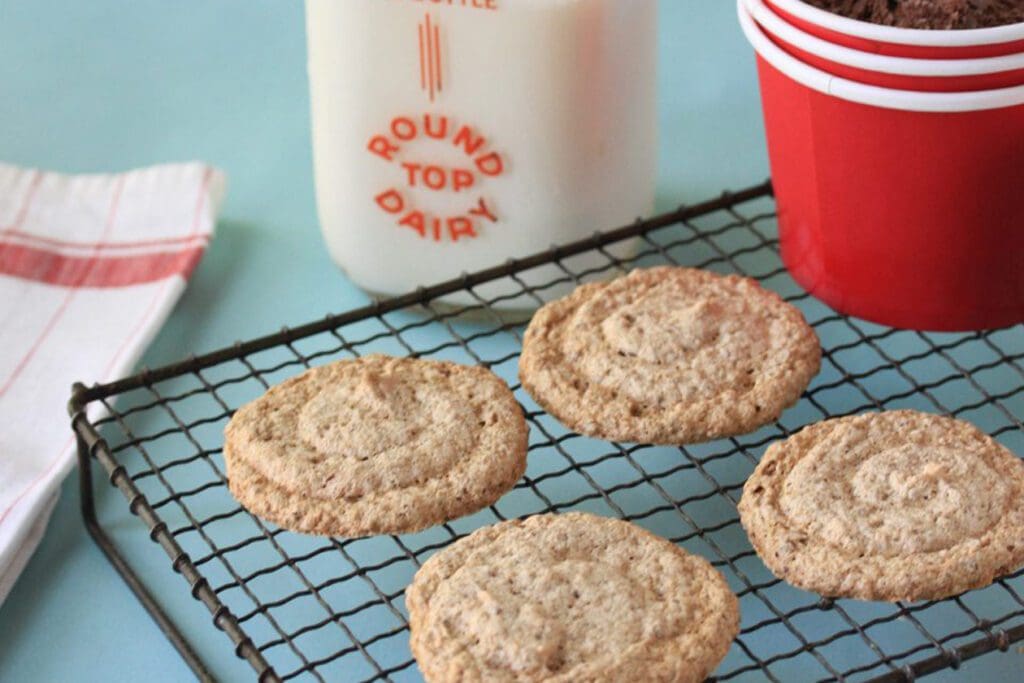
Bake for 25 to 30 minutes, or until lightly browned and firm to the touch. Pull the parchment paper, with the dacquoise, onto a cooling rack and cool the dacquoise for 1 to 2 minutes on the paper. As soon as the dacquoise can easily be removed from the paper, gently pull them off and complete the cooling process directly on the cooling racks (photos 1 and 2 in the gallery below). Note: Baking time will be longer/shorter for bigger/smaller dacquoise.
5 | Serve or store. Fill the cooled dacquoise with ice cream to make delicious sandwiches like those in my video or photo 3 below. Or hold them for later use, storing them as described in “Prep Talk” above.
Again, if you’re more of a visual learner, check out this video version of this recipe: