
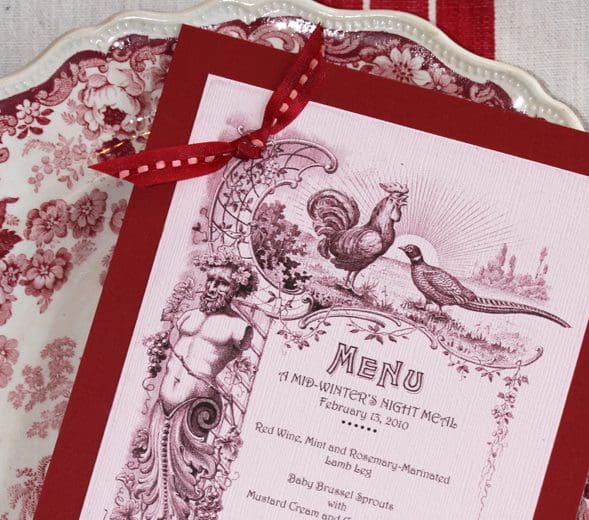
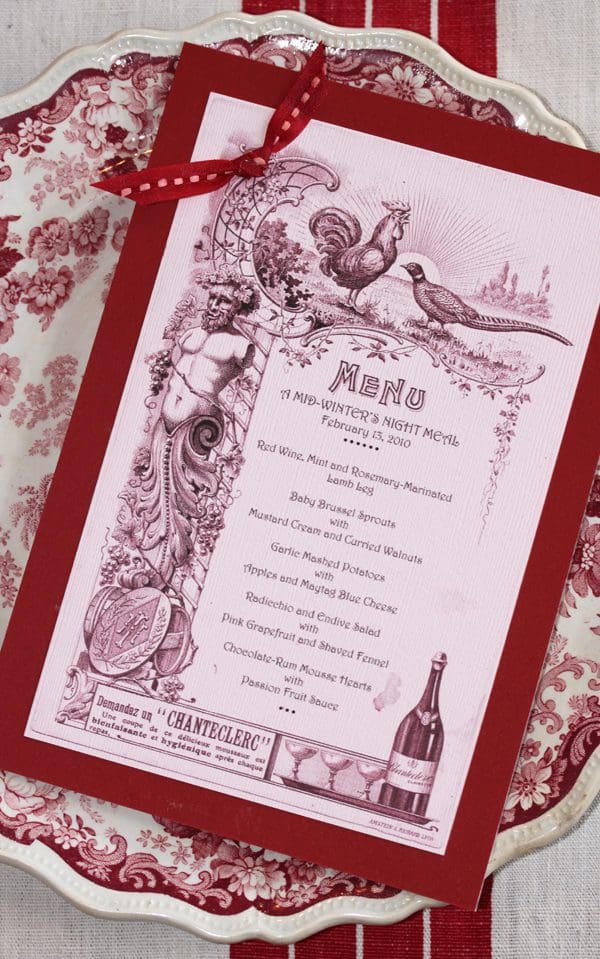
Oh, there’s nothing better than a project that lets me share my treasures and keep them too! Last year, I rescued a stack of blank vintage bistro menus from a dusty corner of a nearby antiques store. Rather than write on the menus and diminish their small but discernible resale value, I scanned the one with most personality (read: food stains and greasy fingerprints). Now, whenever cause for dinner party strikes, I just overlay my menu on the digital version and print enough copies for all to enjoy. The originals remain untouched, tucked into sundry bowls and baskets in my kitchen, lending character as foodie-focal points. (Said with big contented smile!)
What you’ll need for 1 menu:
To make:
1 | Choose and scan your artwork. Even if you don’t have the good luck of finding a vintage menu, consider clip art (my favorite source, above) or modern-day menus. In fact, just about anything with an interesting border will do. If someone’s written inside the border, no worries. Simply block the writing with a piece of paper of similar color before digitally scanning. If you’ve got access to a scanner, great. If not, Kinko’s or another printing service should be able to do the work for you at nominal cost. Be sure to scan in color if you don’t want to be restricted to black and white, or to save your image as an RGB or a CMYK color file so you can colorize it later.
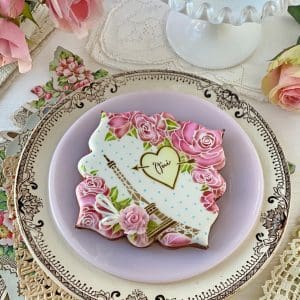
2 | Design away. Load the scanned image into Photoshop or another photo editing program. At this point, I colorized my entire scan to coordinate with my red transferware dinner plates, but color can also be added more selectively to isolated parts of the image, or additional images can be overlaid. When you’re satisfied with your graphic design, simply type your menu through the middle. I used a font style called Harrington here.
3 | Print, mount, and embellish. The rest is straightforward. Just size your image as desired, print on cardstock, and trim to size. If you’re so inclined, you can also mount the menu on weightier 3-ply cardboard for greater durability and embellish with ribbons, bows, or other baubles, as I have here. Spray adhesive works best for mounting paper on paper, whereas a glue gun is better for attaching the larger 3-D embellishments.