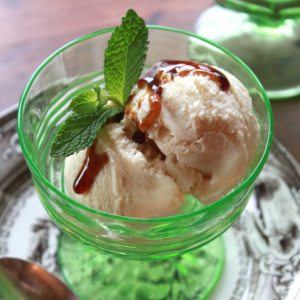


How did you ring in the New Year? I did it with hubby and a colorful clementine cocktail! The candied citrus rounds not only add a festive note (I love how they sparkle in the right light), but they can also do double-duty in other dishes. In the past, I’ve tossed them into salads along with blue cheese – a decidedly addictive salty-sweet pairing. This year, I used the extras to cap off my Nana’s Gingerbread Cake, the grand finale of our New Year’s Eve meal. But before I get distracted by dessert, let’s throw back some cocktails together!

More champagne cocktails than you probably need!
To avoid a last-minute rush, candy the clementines (and/or kumquats) in advance. They’ll stay crisp for many days if stored in an airtight container at room temperature. I typically stack the fruit slices between pieces of parchment paper to prevent them from sticking together.
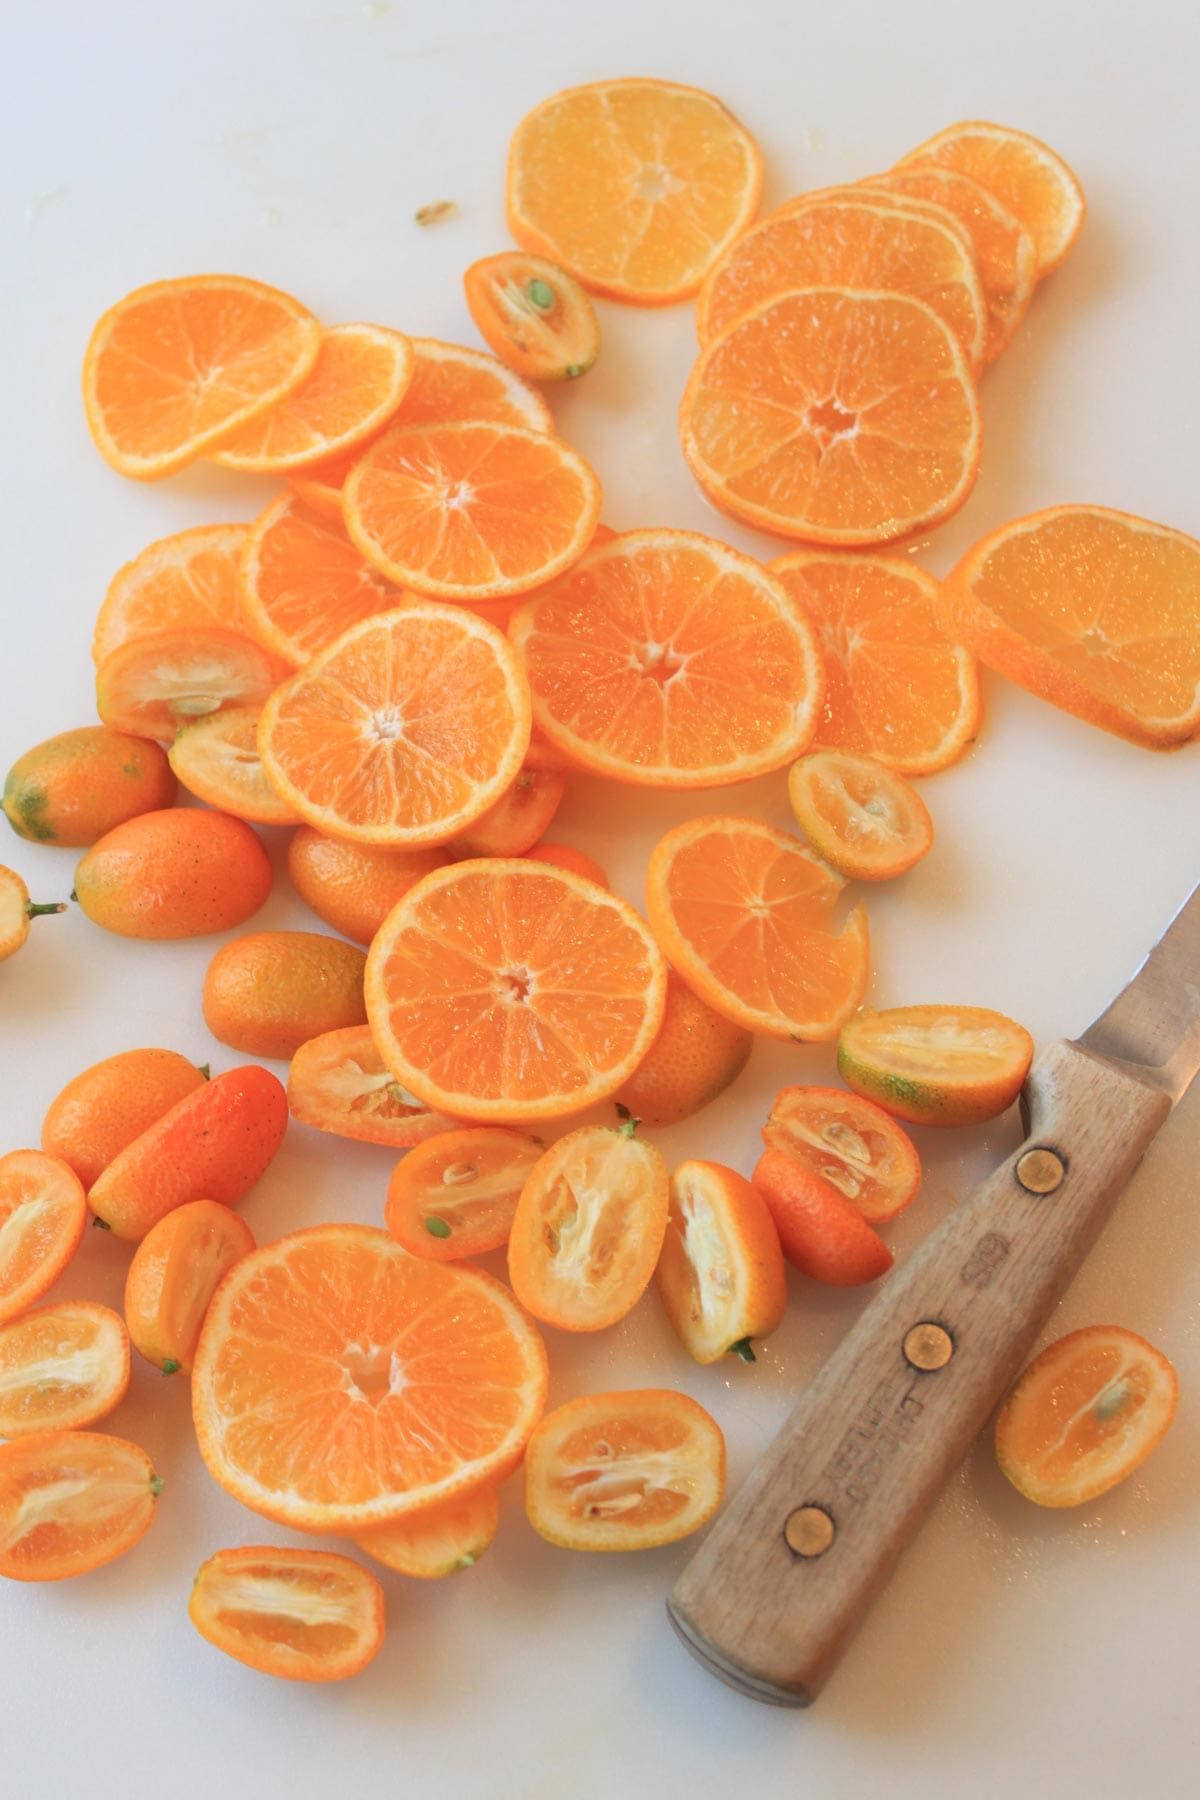
1 | Prep the clementines. I generally like to cut the clementines crosswise to show off the maximum amount of pulp in the finished product (photo 2 in the gallery below). To do this without tearing the flesh while still getting uniformly delicate slices, it’s best to use a mandoline, though a super sharp knife will do. (I chose to cut the kumquats lengthwise here, because this batch was especially seedy and tough to cut crosswise without smooshing the whole fruit. Kumquats are also best cut with a small paring knife; a mandoline is a little too clunky for the task.) Set aside the sliced fruit while you prepare the sugar syrup.
2 | Make the sugar syrup and poach the fruit. Combine the sugar and water in a shallow sauté pan and bring the mixture to a boil over medium-high to high heat. Stir until the sugar is dissolved. Reduce the heat, if needed, to minimize the spattering of syrup, but continue to boil the syrup until it becomes somewhat thick and syrupy. Typically, the syrup will reach this stage after a few minutes at a fairly vigorous boil. Turn down the heat so that bubbles are no longer breaking on the surface of the syrup. (Any boiling will tear the tender flesh of the fruit, and the goal is to keep the pulp as intact as possible.)
Carefully slide the fruit slices into the syrup, taking care to fully cover them with the syrup (photo 3). (Note: My pan was a little too broad, so it was difficult to completely cover the kumquat halves, but I had no trouble with the slices.)
Continue to gently cook the fruit for a few minutes, until the pulp just turns translucent. Remove the pan from the heat and let the sugar syrup cool, leaving the fruit in the pan. As the syrup cools, it thickens and clings more tightly to the fruit, which makes for a nicer candied effect in the next drying step. I sometimes refrigerate the fruit in the syrup overnight to further thicken the syrup, though this step is not necessary.
3 | Dry the fruit. Carefully lift the fruit out of the syrup, allowing the excess syrup to drain off the fruit and back into the pan. (Reserve the syrup for use in Step 4.) Lay the slices in one layer on a parchment paper-lined cookie sheet and dry them in a preheated 150˚F to 200˚F (66˚C to 93˚C) oven until they are crisp but not at all brown. Drying can take 1 or more hours depending on the size (diameter) of the fruit, the thickness of the slices, and your oven temperature. I typically transfer the slices to a clean parchment paper-lined cookie sheet about midway through the drying process, if not sooner. During the initial drying, more sugar will drain off the fruit and pool around it, and I find that the drier I keep the paper, the more quickly the fruit will dry. I also flip over the fruit and rotate the pan periodically to ensure the most even drying without any browning. (See photos 4 and 5 for examples of the finished fruit.) Store the fruit as instructed in “Prep Talk” if you don’t plan to use it immediately.
4 | Mix the cocktail. The name of this step is a bit of a misnomer, because there really isn’t too much mixing involved . . . just place a tablespoon of reserved syrup (more or less, depending on your sweet tolerance) into the bottom of a champagne flute, fill the flute generously with champagne (choose a dry one to offset the sweetness of the syrup), give the drink a stir, and then insert one or more candied clementine slices or kumquat halves for sparkle. (See photos 6 and 7.)
Wondering about those optional resolutions on parchment paper (photos 6 and 7)? They’ve been one of my on-and-off-again first-toast-of-the-New-Year traditions since an ex-boyfriend introduced me to the idea about 30 years ago. Here’s the gist: write your wish for the New Year on a slip of paper; then light the slip on fire (holding it over your cocktail, for reasons which will become abundantly clear). Let the paper burn down as far as it can before your fingers can no longer take the heat, while making sure the ash falls into your glass. The cocktail will quash any residual flame (!) and . . . if you successfully drink all of the ash, your wish will come true! Not a believer? Doesn’t matter. You’ll still want to hold onto the wish as long as possible, because – believe me – it’s a lot easier to drink ash than it is soggy paper. And I’m sure you’re not the type who lets good champagne go untasted!