
My rendition of aioli, though very garlicky, isn’t as biting as some, since the roasting of the garlic bulbs mellows their inherent sharpness. It’s also as delicious atop meat (see my Red, White, and Blue Burgers) as it is mixed into egg or potato salad, or used as a veggie dip.
Yield: About 2 cups
Prep Talk: If you don’t plan to serve the mayo immediately, be sure to refrigerate it. However, it will thicken as it chills, so you may want to thin it with more water than noted below once refrigerated. Also, be sure to roast the garlic at least an hour in advance. That way, it will be ready to go by the time you start this recipe.
Ingredients:
Method:
1 | Combine the yolks, vinegar, and salt in the bowl of a food processor fitted with a metal blade, and process well (about 1 minute).
2 | With the processor running, ever so slowly add the first cup of oil in a steady stream. (If you add the oil too fast, an emulsion of the oil and other ingredients will not form, leaving your mayo runny.)
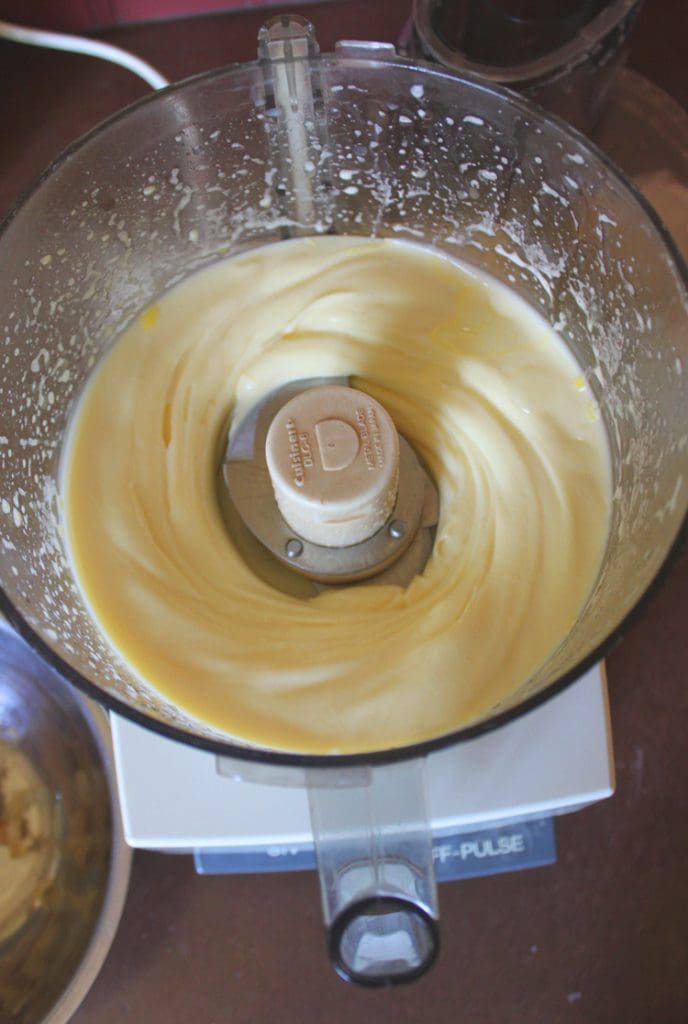
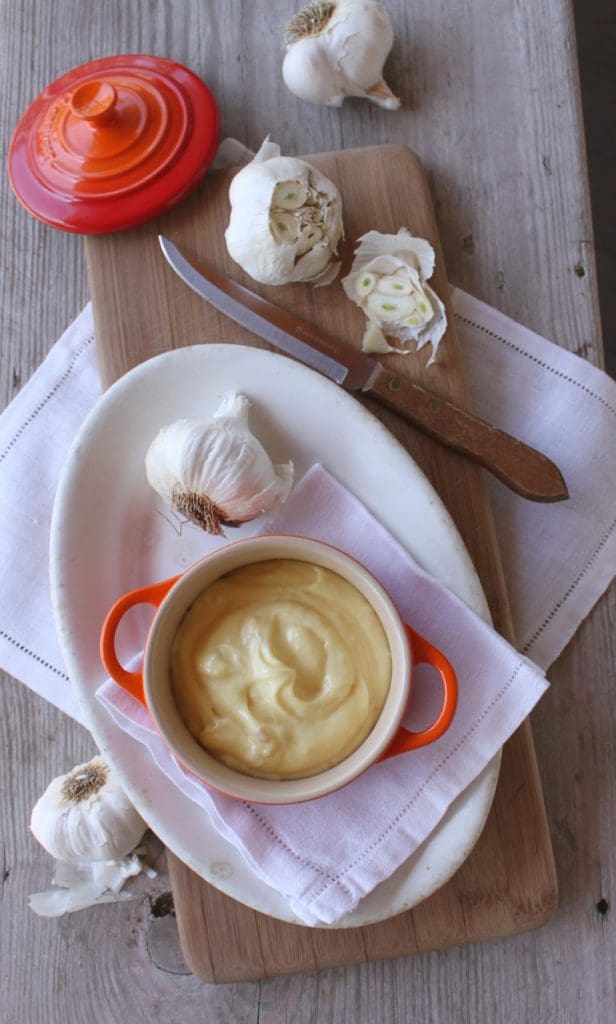
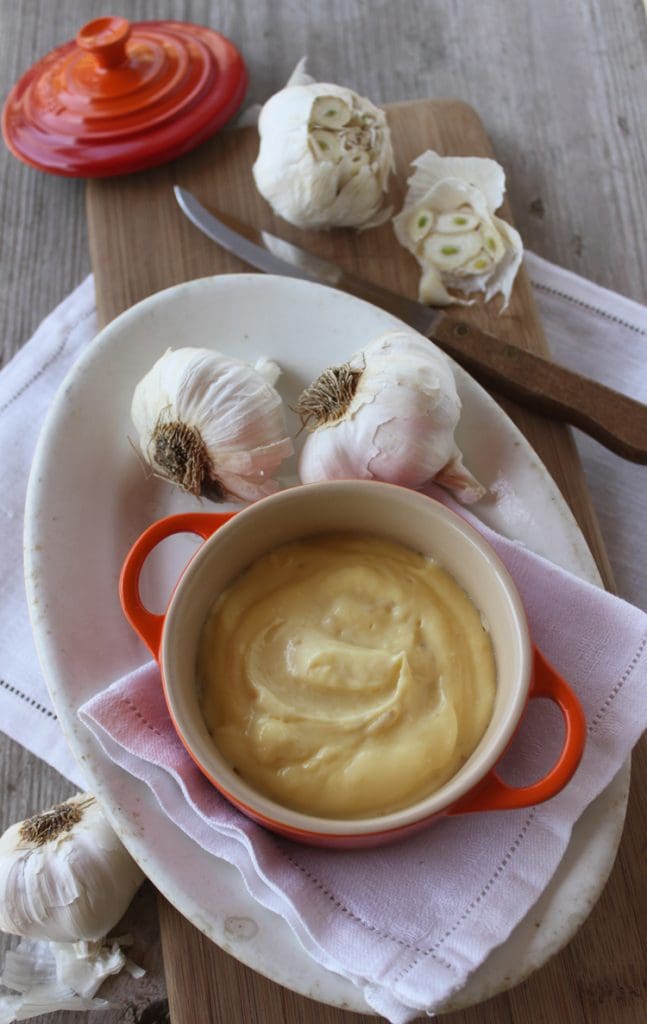
3 | Continue to add the remaining 1/2 cup oil, and process until the mayo is very thick, as pictured in the third photo to the right. Squeeze the creamy insides of the roasted garlic heads* into the mayo, leaving their papery outer husks for the trash. Process a few seconds until blended.
4 | If the mayo is too thick for your tastes, gradually add 1 to 2 tablespoons water to thin it, and adjust the seasoning, as desired. Cover tightly with plastic wrap, and store in the fridge until ready to use.
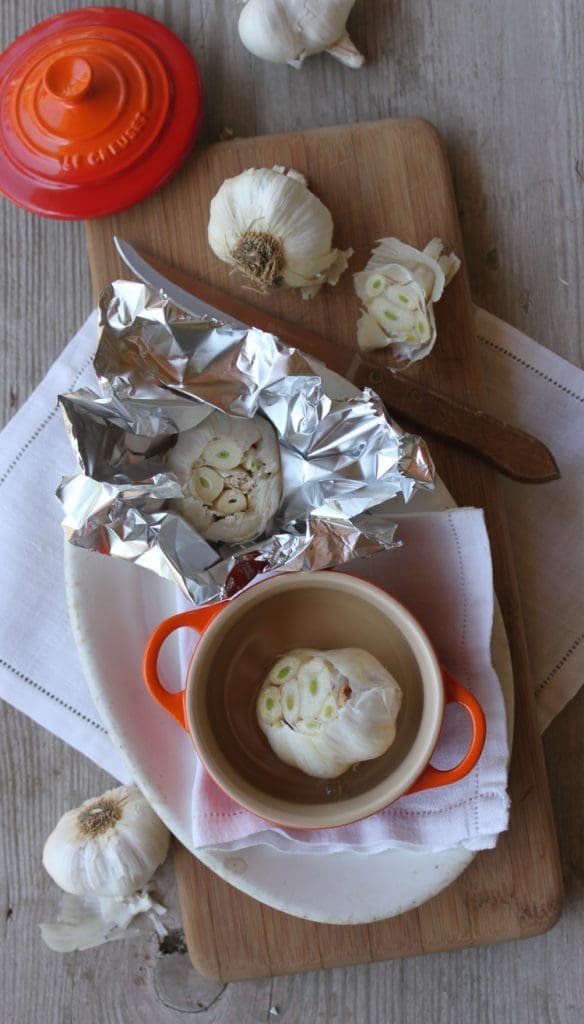
*Garlic Roasting Tips: First, slice a thin layer off the top of the garlic head to just reveal the tops of the cloves inside. (Cutting the top in advance will make it easier to squeeze out the garlic later.) I like to leave all of the papery husks on the garlic while roasting as they act as a protective buffer, which prevents the cloves from roasting too quickly and drying out.
You can roast garlic a few different ways: Either place the bulb, cut end up, in a small (about 4-inch-diameter) Dutch oven (aka lidded roasting pot like the orange cutie from Le Creuset, pictured right), drizzle with a tablespoon or so of olive oil, cover, and roast in a 400°F oven until the cloves are soft and fragrant. Or wrap the bulb loosely in a foil pouch (leaving about 1/4 inch gap around the bulb, but sealing the pouch completely with a pinch at the top); then roast, again cut end up, as just instructed. I like to add a touch of oil in the first case, because the garlic tends to dry out more rapidly in a Dutch oven (perhaps because of the added air/heat circulation around the bulb). The oil isn’t necessary in the foil pouch, unless you plan to roast the garlic on the grill (another option), which tends to dry the garlic more rapidly as well. Roasting time will vary with bulb size, but I usually start checking for doneness at 45 minutes (for oven-roasting) and often roast as long as an hour. On a grill (set at 375°F to 400°F), the roasting time will be shorter. In that case, start checking for doneness at 20 to 25 minutes. Garlic can easily over-roast, in which case it darkens and hardens, making it difficult to squeeze out later. So watch it closely near the end of roasting time!
Cool completely for easiest handling in Step 3, above.