

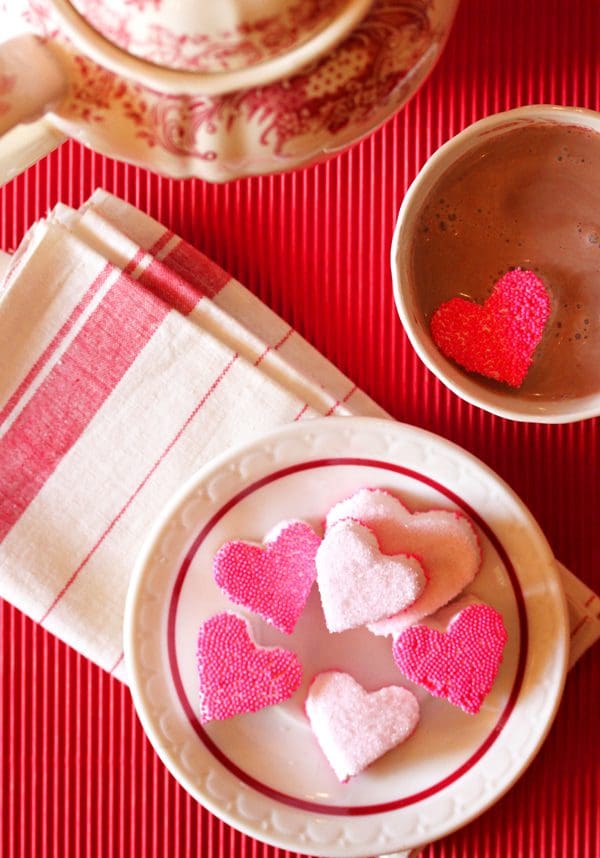
I’m not a fan of the cold. In fact, if I could go sockless and coatless all the time, I would. But, alas, this winter’s been a tough one, and my garden clog-clad bare feet just couldn’t hack the recent snow. Perhaps it was my feverish donning of socks and sweaters today that led me to dwell on hot cocoa and marshmallows?! Not sure, but I do know one thing: there are few treats as heartwarming as that duo. This marshmallow recipe hails from the one in Cookie Swap for lemon-scented peeps and bunnies, but I’ve spiced it up with ground cinnamon and then cut it into tiny hearts – perfect for Valentine’s Day! My plan is to bundle them into gifts – that is, if I don’t dunk them in a steaming pot of cocoa first! (Note: The lemon variation is at the end.)
Yield: About 4 dozen (2 x 1 3/4-inch) heart-shaped marshmallows
Prep Talk: Though not essential, a candy thermometer is helpful in Step 2. The marshmallow must dry at least 4 hours at room temperature before cutting. Store in airtight containers at room temperature for 2 to 3 weeks. If left uncovered, or loosely covered, the marshmallows will dry out.
Ingredients:
Method:
1 | Generously coat the bottom and sides of a 10 x 15 x 1-inch jelly roll pan with nonstick cooking spray. Line the bottom of the pan with parchment paper and lightly coat the paper with more cooking spray. Sprinkle about 2/3 cup sanding sugar over the pan so that it coats the sides and covers the bottom in a thick, even layer. (You should not see through the sugar to the bottom of the pan.) Gently shake the pan to evenly distribute any loose sugar in the bottom, but do not shake out the excess sugar.
2 | Combine 1/2 cup water, the granulated sugar, corn syrup, and salt in a medium (3-quart) saucepan and set over medium-high heat. Bring the mixture to a boil, stirring as needed until the sugar has dissolved. Cover for a few minutes to allow any sugar crystals on the side of the pan to dissolve; then uncover and continue to boil, without stirring, until the syrup registers 238°F to 240°F on a candy thermometer. (Alternatively, when ready, a drop of syrup will form a soft, malleable ball when placed in a cup of ice water.)
3 | While the syrup is boiling in Step 2, pour the remaining water into the bowl of an electric mixer fitted with a whip attachment. Slowly sprinkle the gelatin over the top, waiting for one package to be completely absorbed by the water before sprinkling the next. Allow the gelatin to sit until it is thoroughly moistened. (If a few dry spots remain on top, leave them be. Do not stir or the gelatin will get lumpy.)
4 | Add a few tablespoons of the hot sugar syrup to the gelatin mixture to begin to dissolve it. Turn the mixer to medium speed, and add the remaining hot sugar syrup in a slow, steady stream. When all of the sugar syrup has been incorporated, quickly scrape down the sides of the bowl.
5 | Turn the mixer to high speed and beat until the mixture is thick, glossy, and very white, about 7 to 10 minutes. (You will hear the cadence of your mixer change as the meringue approaches the proper thickness. The meringue will also cling in a large mass to the beater when it is ready.) Add the ground cinnamon and food coloring, if desired, in the last few minutes of beating. Note: The sanding sugar will completely coat the tops and bottoms of the hearts, so they will appear mostly red (or pink) even if the marshmallow isn’t tinted.
6 | Immediately turn the mixture into the prepared pan and level with a small offset spatula. Sprinkle about 2/3 cup sanding sugar evenly over the top, taking care to completely cover the marshmallow. Let dry, uncovered at room temperature, at least 4 hours. Avoid drying longer than 12 hours, as the top of the marshmallow can become tough and more difficult to cut.
7 | Run a paring knife along the edge of the pan to loosen any stuck marshmallow, and invert the pan onto a clean work surface. (The bottom of the marshmallow will be smoother than the top, and is, therefore, the better side to “face forward.”) Reserve any loose sugar that spills off of the marshmallow.
8 | Lightly coat a small (2-inch or less) heart cookie cutter with nonstick cooking spray. (Note: You will need a cutter that is 3/4 to 1 inch deep in order to cut through the marshmallow without squishing it.) Cut out hearts until all the marshmallow is used. To prevent sticking, clean and grease the cutter between cuts, as needed. If desired, roll the cut-outs in the reserved sanding sugar to cover the sides. Shake off any excess sugar and store the marshmallows as instructed above if you don’t plan to eat them immediately.
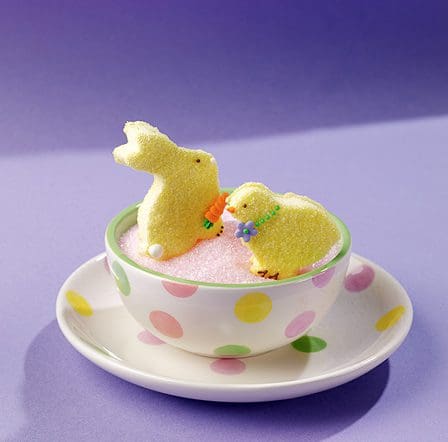
Lemon Peep & Bunny Variation: Substitute yellow sanding sugar for the pink or red. And rather than using cinnamon and rosy shades of food coloring in Step 5, substitute 1 table- spoon strained lemon juice, 1/2 teaspoon pure lemon extract, and yellow food coloring (as desired). Proceed as directed above, but cut the marshmallow into small (1 3/4 x 2 1/2- to 3 1/4-inch) chicks and bunnies instead. Embellish with royal icing eyes, tails, feet, and other do-dads.