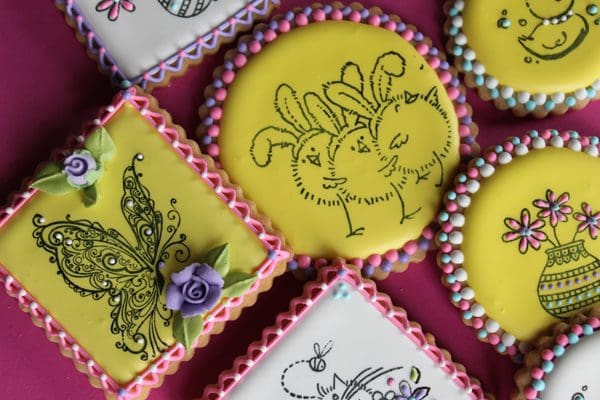
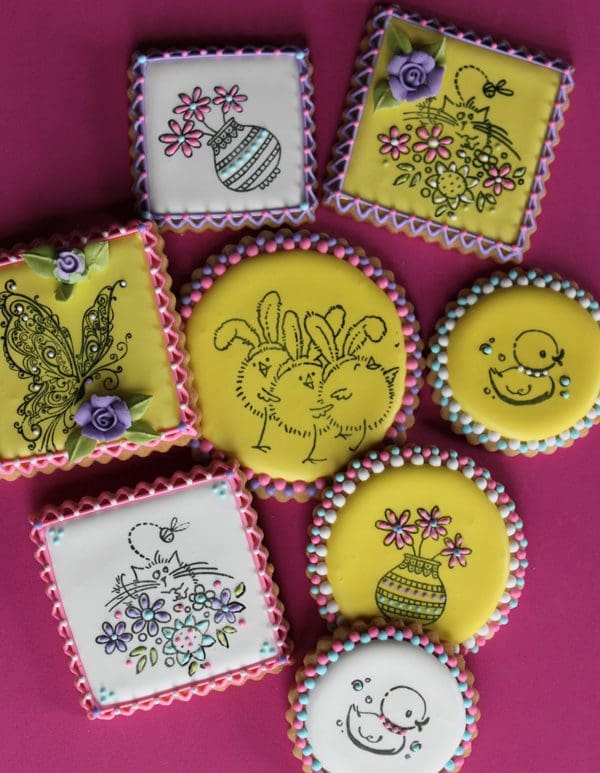
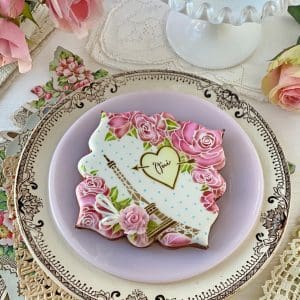
I call rubber stamping my ultimate cheater technique, because it allows anyone – even those without God-given artistic talent – to create show-stopping cookies with very little work. Simply choose a lovely stamp and grab some soft-gel food coloring, and you’re good to go! Don’t think it’s that easy? Well then, just take a gander at this stunning rubber-stamped cookie set – it says it’s so.
What you’ll need for several cookies:
To make:
1 | Air-dry the topcoated cookies. After you’ve smoothly topcoated the cookies with Royal Icing in colors of your choice, let them air-dry, uncovered at room temperature, until the icing has dried all the way through. Usually this means drying overnight, sometimes longer if it’s particularly humid. Since stamping in the next step requires the application of pressure to the cookie tops, don’t shortchange the drying time. If you do, you can crack the icing when stamping. Note: For best results, I usually topcoat with a pale color, so that the stamped pattern shows very clearly against it. Also, don’t stamp naked – meaning un-iced – cookies. The food coloring won’t stick to the cookie; it will only lift cookie crumbs off the top.
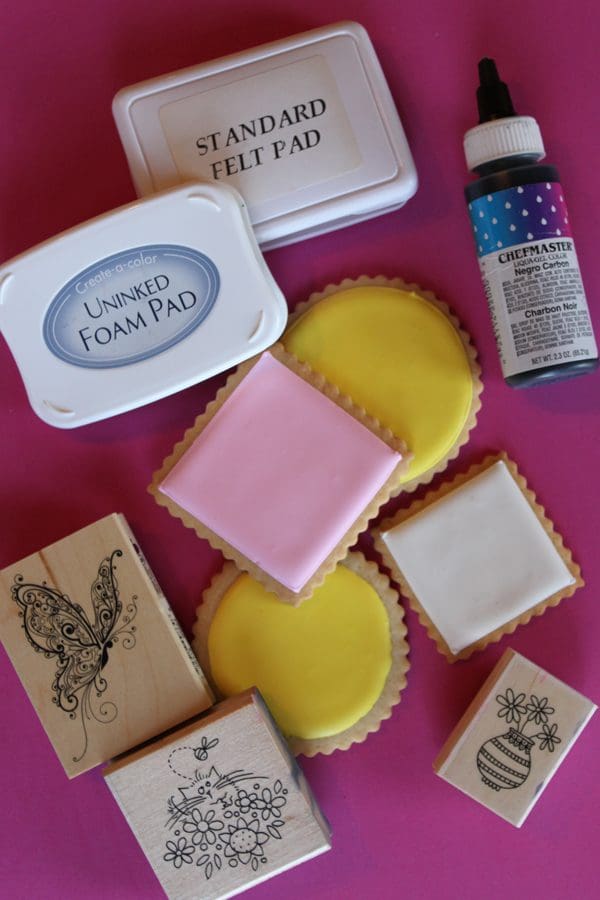
2 | Assemble your stamping tools (second photo from top). First, gather your stamps, making sure they fit the topcoats with some room to spare, as noted above. If the stamps are too large for your cookie topcoat, you won’t get a complete imprint, of course. I use thoroughly cleaned craft stamps made of natural rubber, that have never touched any inedible ink. For me, this is food-safe enough, since the stamp makes contact with the cookie for a split-second. If you’re more finicky than me, no worries: you can also find some very cute food-safe stamps here.
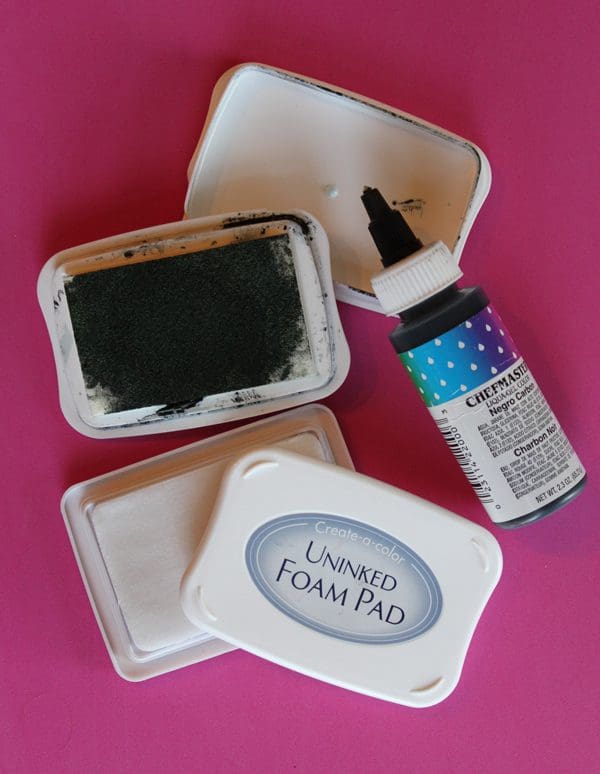
Next, choose an un-inked ink pad – or don’t! I prefer a foam pad, as indicated above. Foam pads hold ink longer than felt pads, meaning you have to re-ink much less frequently as you work. Again, I don’t worry myself with the fact that the ink pads may not be guaranteed, FDA-approved “food-safe,” but if you do, simply use folded paper towels to blot the stamp with food coloring.
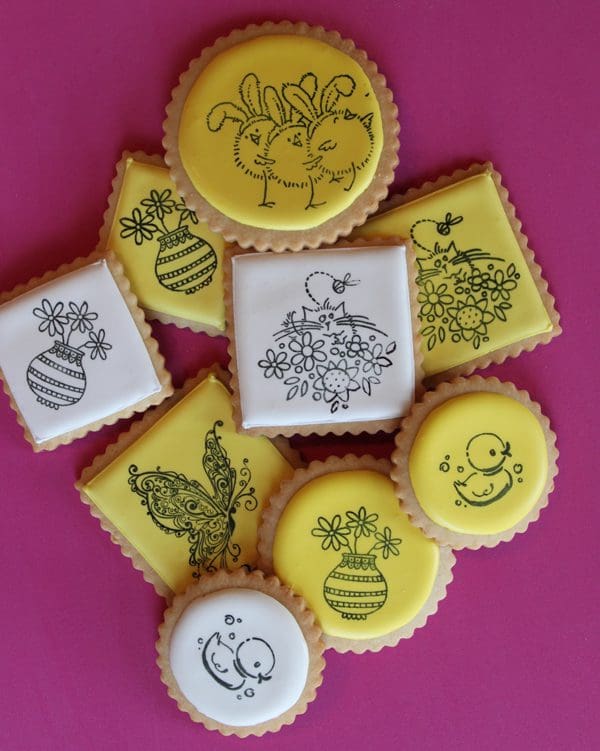
3 | Stamp yourself silly! If using an ink pad, apply a generous squeeze or two of coloring to the pad. (I often use black coloring for best contrast, as shown in the third photo from top.) Because soft-gel coloring is viscous, it will sit on top of either foam or felt pad, even though the former is more absorbent. To avoid getting an excess of ink on your stamp, blot the pad with paper towels to remove any pooled coloring; then press your stamp onto the pad, taking care to evenly coat it. (Or skip the pad altogether, and blot the coloring directly onto the stamp with paper towels. Though take note: the advantage to using a pad is that, when you’re done, you simply close the lid, pop the pad in a plastic baggy, and seal the baggy. A foam pad can stay moist up to a week or more if contained this way, thereby minimizing your use of food coloring.)
Stamping a cookie isn’t much different than stamping a piece of paper except that you must apply extra pressure in the middle of the cookie where the icing tends to dry with a divot. And as you firmly press, avoid moving the stamp from side to side, or you’ll end up with a blurry imprint. Re-ink the stamp between cookies, and repeat this step until all of your cookies are stamped. If you want to stamp in different colors, be sure to have a separate pad for each color.
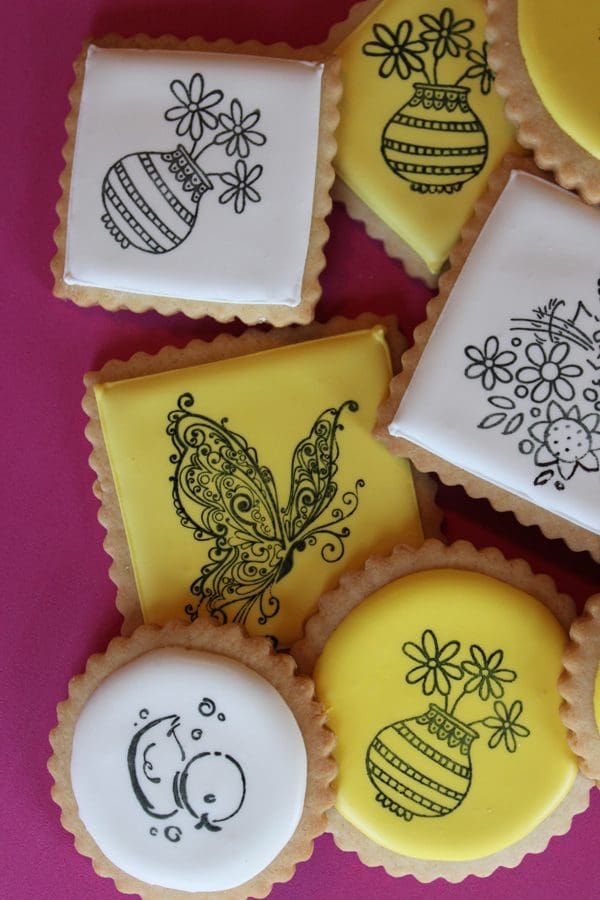
When you’re through, store the ink pad(s), if used, as indicated above, and wash and dry your stamps before storing them in baggies or other sealed containers.
4 | Add borders and details. Divide the Royal Icing into as many portions as you want border or detailing colors, using no less than 1/4 cup icing per color. Tint the icing accordingly and then thin to the proper consistency for your task, i.e., to beadwork consistency for dots or outlining consistency for thin lines. Fill parchment pastry cones with the icings, and proceed to pipe borders of your choice.

I often use icing at beadwork consistency to embellish the cookie tops with dots as well. Thicker icing can also be used to glue readymade roses to cookies (see last photo) and to pipe small leaves with a pastry bag fitted with a #352 leaf tip. This said, there’s no reason to go crazy with the detailing. Depending on the intricacy of the stamp, less is often more.

Be the first to hear about my latest events, tutorials, and product announcements by subscribing to my newsletter!
Schedule willing, I release one each month, roughly mid-month. And, guess what else?! Once you subscribe, you’ll receive a special one-time coupon code for 20% off my online tutorials. The code will be delivered in your subscription confirmation email, so keep your eyes peeled (as it cannot be resent). Thanks in advance for subscribing!
Live sweetly, Julia