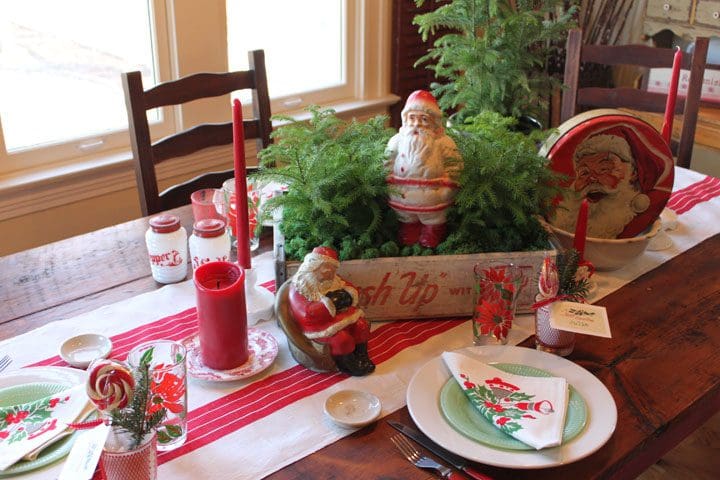
My husband often questions my habit of collecting throughout the year. In fact, my last antiques mall-find elicited a frown and dismissive, “What is that @#%*$?!!” Granted, I rarely return from my foraging with anything of real monetary value or legitimately deserving “antique” status. More often, my “treasures” are dented, worn, or scratched. And I no doubt confound hubby by shopping for Christmas at seasonally inappropriate times . . .
But fortunately – for both of us – I’ve gotten thicker skin. I’ve learned to blithely ignore all quips about individual finds, knowing full well that once they join their fellow collectibles, they’ll shine through any patina or nicks. You see, it’s all about power in numbers, a really simple decorating principle: if collecting is done well – a little at a time with a strong thematic bent – it can pay off handsomely, especially when last-minute holiday decorating.
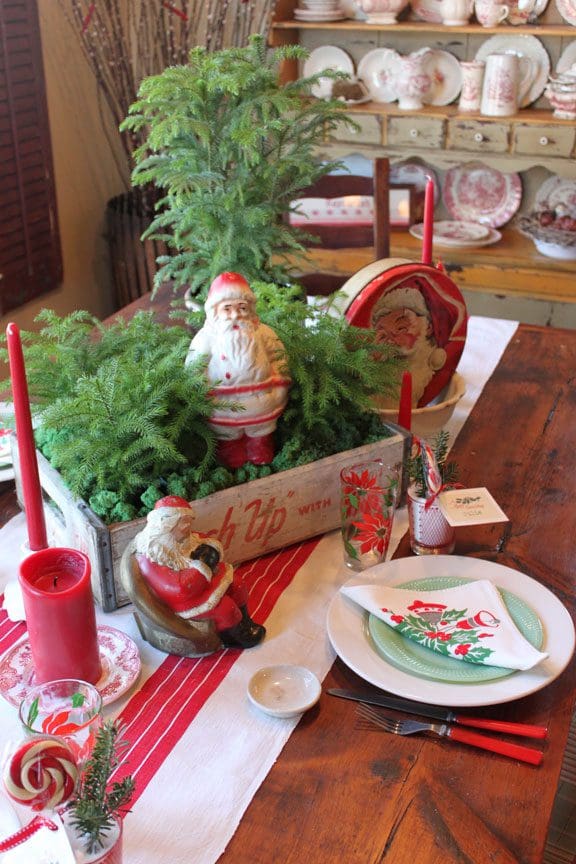
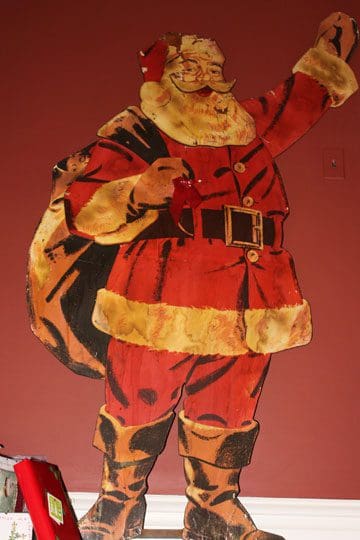
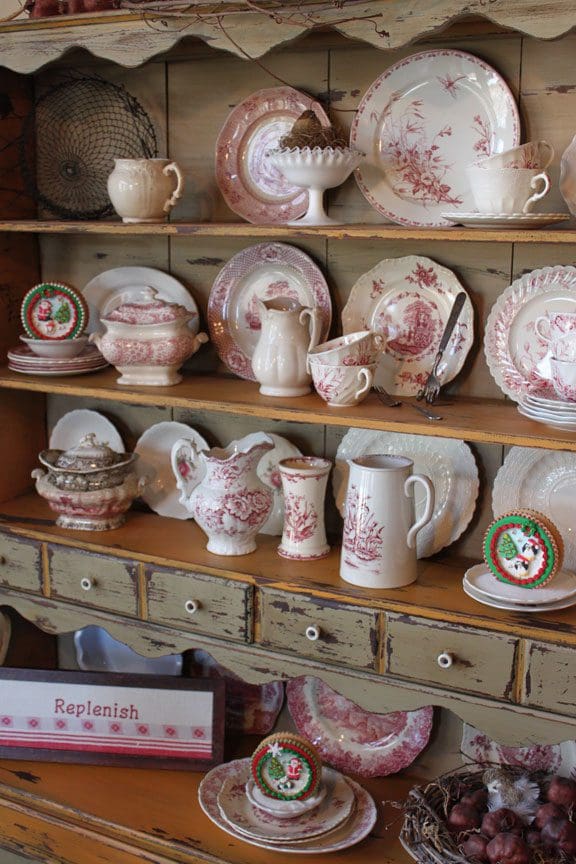
I know. This year, I was unusually strapped for time. Having returned from my book tour just two days before the big day, I relied on my collections for speedy decorating relief. First, out came the Santas: an old First National Santa-bank, a dented fruitcake tin with his jolly face painted on top, two chubby papier mâché figurines, and a 50s-era pillow to make my couch a little more cozy. Next up, cohesive only in its red, white, and green color scheme, my container collection: a 7-Up crate, various ironstone pieces including a bowl with a pretty fluted edge, poinsettia- and crisscross-patterned glasses, and my everyday transferware in its usual position, in mismatched stacks atop the kitchen hutch. The last collection to play a role was a coterie of snow globe cookies, made by moi and handily decked in red and green. To these three collections, I added just two new things: a small forest of Norfolk pines (the only greenery left at my local garden center at the 11th hour) and a five-foot plywood Santa whose charm and price tag I couldn’t resist!

A couple of hours of shuffling and re-shuffling later, all the pieces were in place. Yes, indeed, the house was appropriately festive for my taste! Even my skeptical husband seemed to appreciate the power-in-numbers approach. When he spotted the latest addition to my Santa collection, he didn’t roll his eyes or shake his head. Instead, he offered up a big smile; then a resounding, “He fits right in.”
Read further for more info about how I put together these collections.
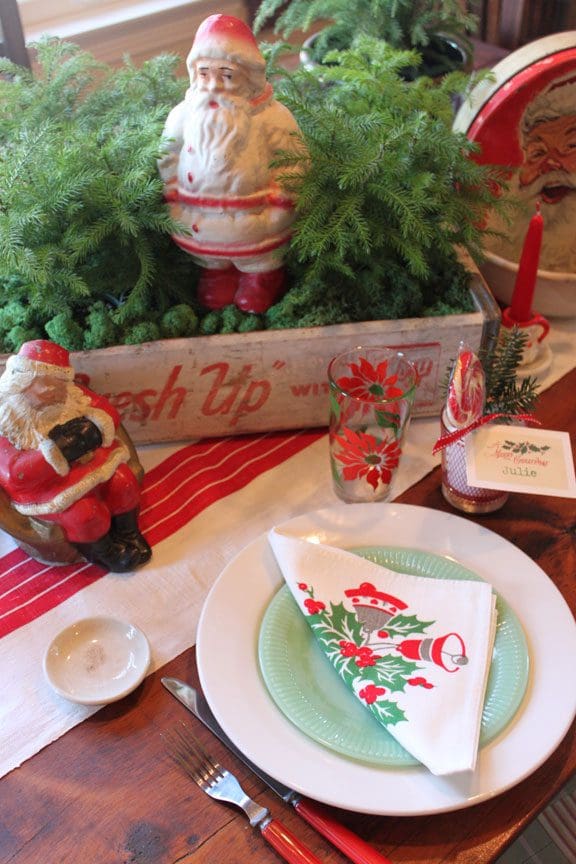
Remember, a one-dimensional arrangement does not an interesting centerpiece make! Since my Santas were all nearly the same height (top two photos), I needed to add some dimension to grab attention. Easy enough. I simply mixed up pine tree sizes and used my container collection to elevate some of the pieces.
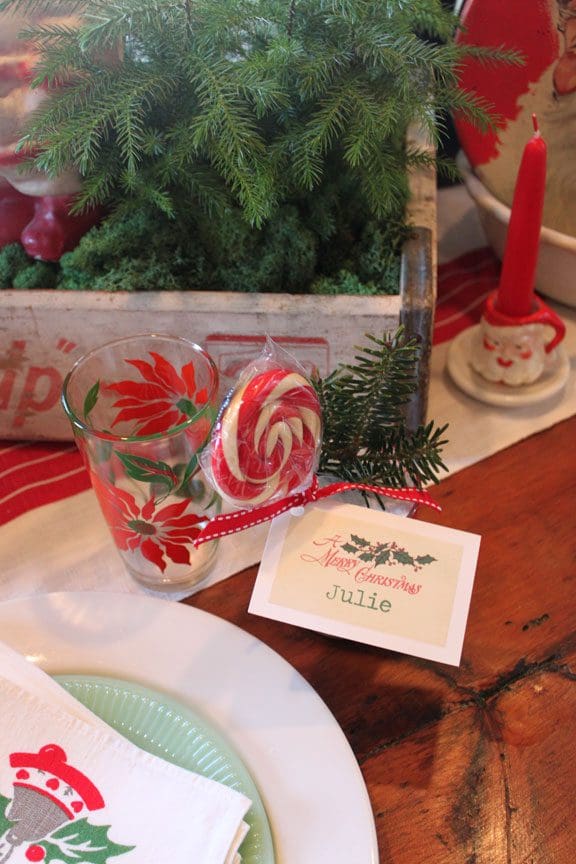
To harmonize the disparate collections, I perpetuated a strong red, white, and green theme throughout the tabletop, from the centerpiece elements down to the napkins, glasses, and other details at each place setting (third and fourth photos from top).
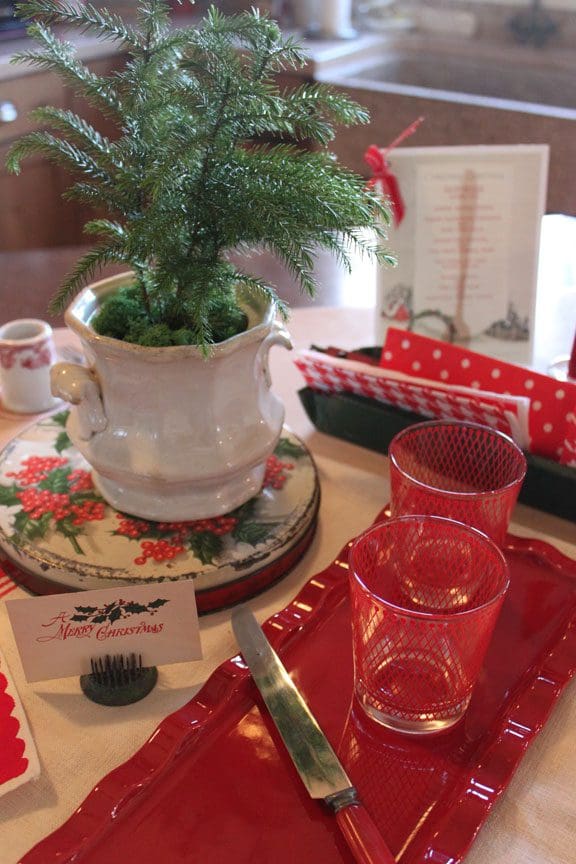
A few surprises on the table always help to sweeten things up – in this case, literally! Place cards (fourth photo from top) were tied to red-and-white swirly lollipops standing in cupfuls of sugar!
If you’re fortunate to have excess collectibles, continue the theme of the main tablescape in sideline areas, such as I did with the appetizer setup on my kitchen island (fifth photo from top). Note how my container collection is used again here to add dimension.
Abstain from time-consuming Christmas tree setup and cleanup? Yes, you can! I went cold turkey this year and substituted my 5-foot Santa (fourth photo from bottom). He was eye-catching, for sure, and our gifts made complete sense tumbled at his feet! Don’t have a 5-foot Santa? Here are some fun and easy substitutes:
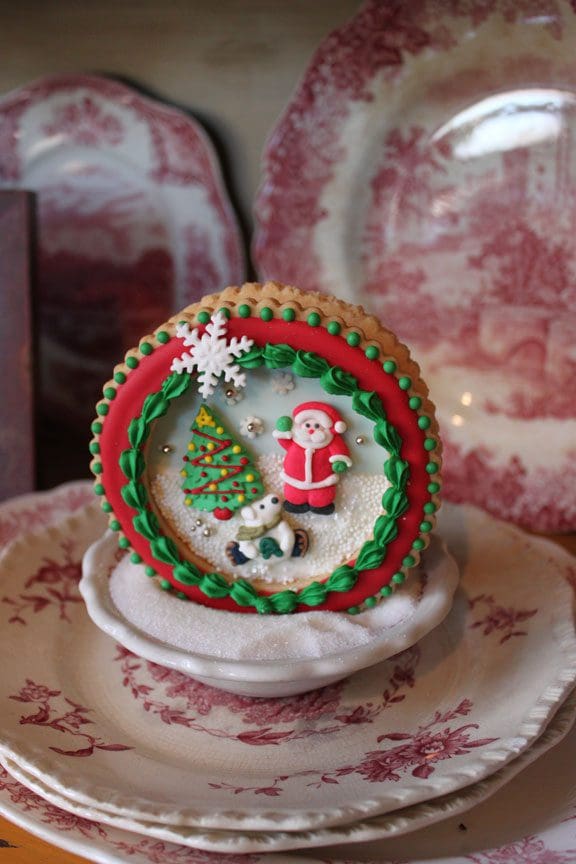
I said it before and I’ll say it again: sweet things can really top off a party. That’s why I showed no restraint in decking my kitchen hutch with leftover snow globe cookies (bottom three photos). I made the cookies for my book tour, but was careful to keep them in airtight containers (specifically, bakery boxes sealed in garbage bags) so they would look presentable, long after decorating.
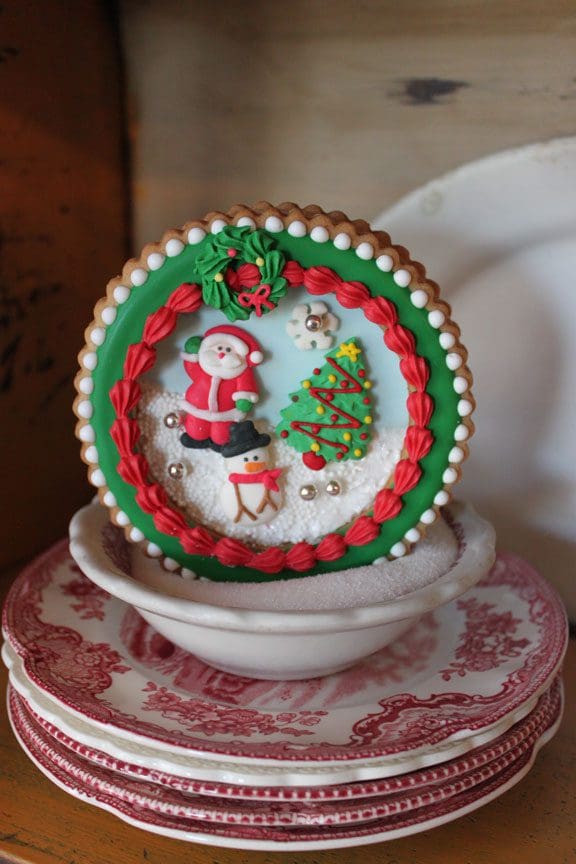
An Aside: For snow globe instructions, check out my new book Ultimate Cookies! And for all the tools and sugar do-dads needed to make this cookie project, you’ll want this kit from fancyflours.com. (Fancy Flours is my tour sponsor, and they created this custom cookie kit, as well as several others, to support my book. What nice gifts to start the New Year, eh?!)

Be the first to hear about my latest events, tutorials, and product announcements by subscribing to my newsletter!
Schedule willing, I release one each month, roughly mid-month. And, guess what else?! Once you subscribe, you’ll receive a special one-time coupon code for 20% off my online tutorials. The code will be delivered in your subscription confirmation email, so keep your eyes peeled (as it cannot be resent). Thanks in advance for subscribing!
Live sweetly, Julia