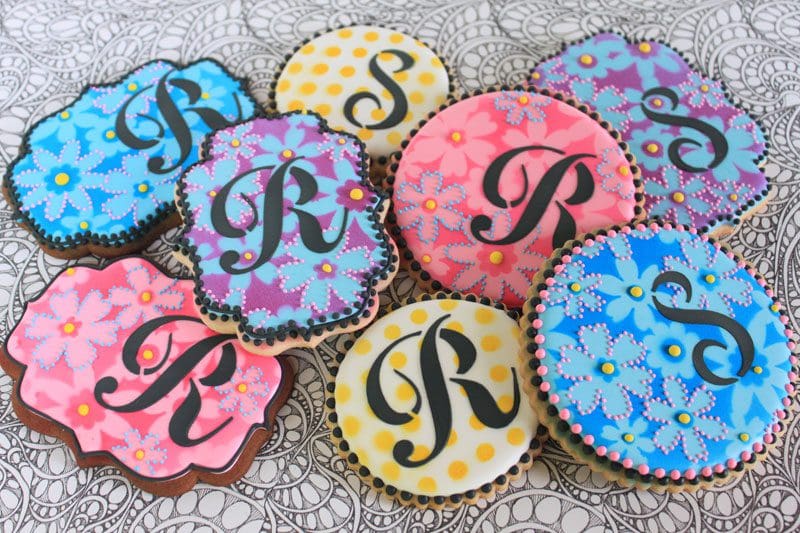
What the heck is dual-mode stenciling, you ask?! (So sorry – it’s the former engineer in me who loves to make up pseudo-scientific names to explain cookie decorating techniques!) Anywho . . . it’s a term I coined (I think) to indicate multiple, layered stenciled patterns made with two different stenciling media, such as airbrush coloring for an underlayer and Royal Icing for a top layer, as in the mod monogram cookies pictured to the right. I love the added depth that this technique affords; plus, stenciling is such a speedy way to add lush detail and texture to cookies. Read on to learn exactly how I applied this technique to these cookies. Or check out the related video on my YouTube channel.

What you’ll need:

Method:
1 | Get your cookies ready to go. Make sure the top coats on your cookies are dry all the way through, as you’ll be applying pressure to them in Steps 3 and 4, and smooshing top coats is generally not a good thing! To be on the safe side, I usually dry top coats overnight, if not longer.
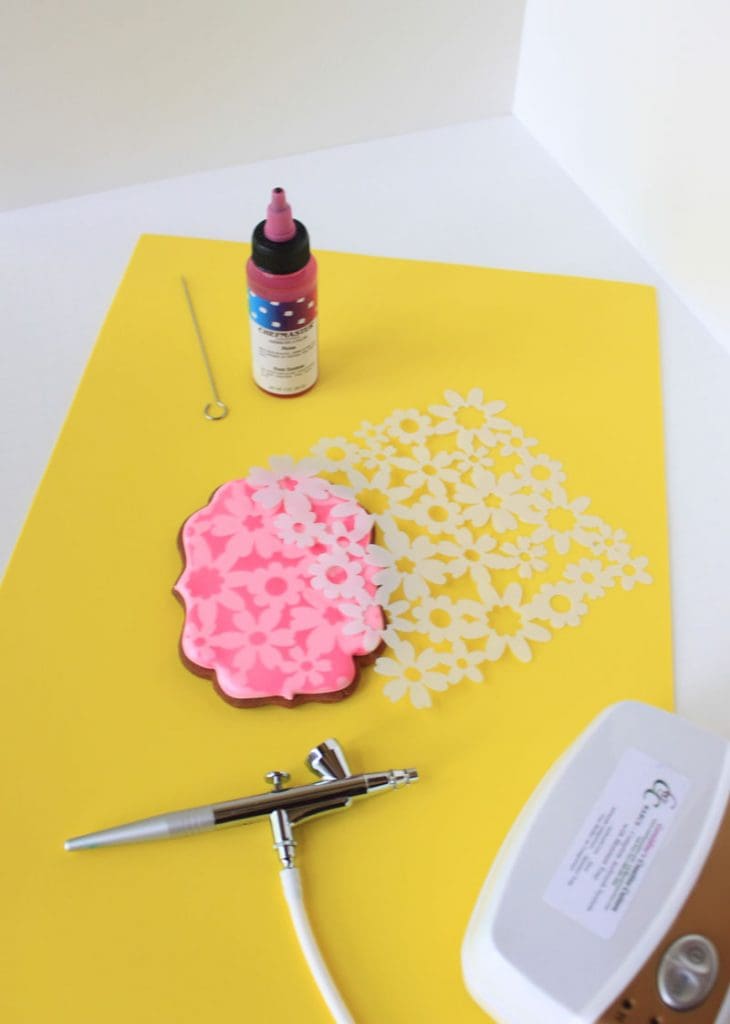
2 | Prepare to airbrush the underlayer. First, take cover! By this, I mean cover your work surface with parchment paper and also set up a “surround” to capture any airbrush coloring that goes airborne (and, believe me, it will)! To keep my kitchen color-free, I use a foam-core, tri-fold backdrop (see third and fourth photos) that I picked up at Michaels.
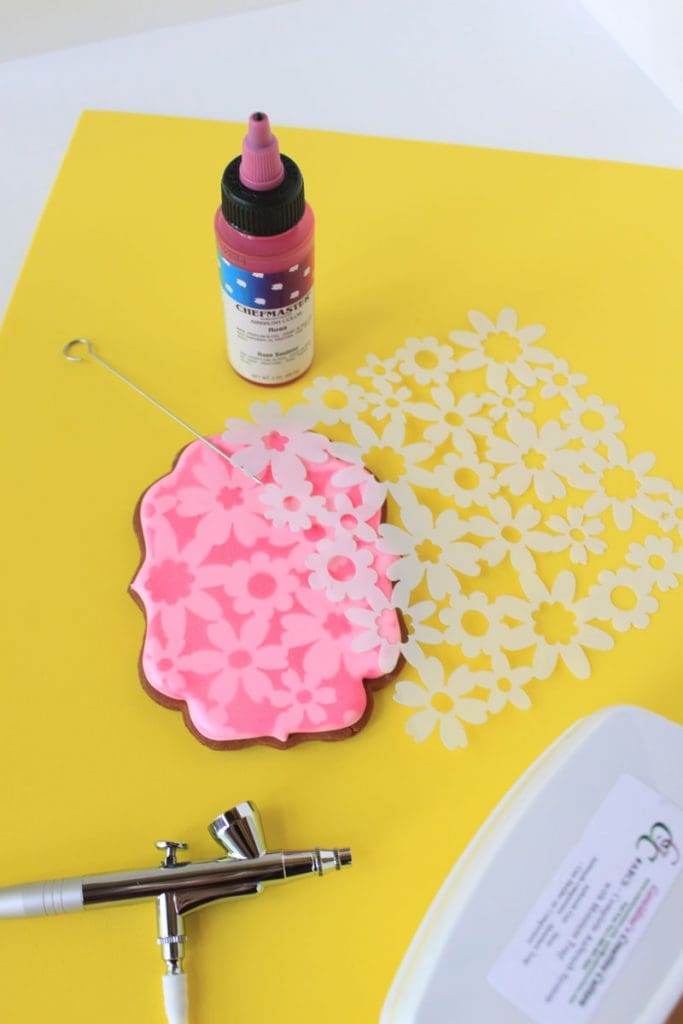
Also, if you’re new to the airbrush, be sure to follow the manufacturer’s instructions to rig the filters and connectors properly; then practice airbrushing on paper before you ever touch a cookie. It’s wise to get a feel for how the coloring flows at various speeds and distances from your work surface. (If you don’t have an airbrush and don’t want to make the investment, then you can also use spray coloring for this step, though I find that many spray colorings don’t cover the cookie as uniformly and/or bead up when they hit a smooth cookie top coat.)
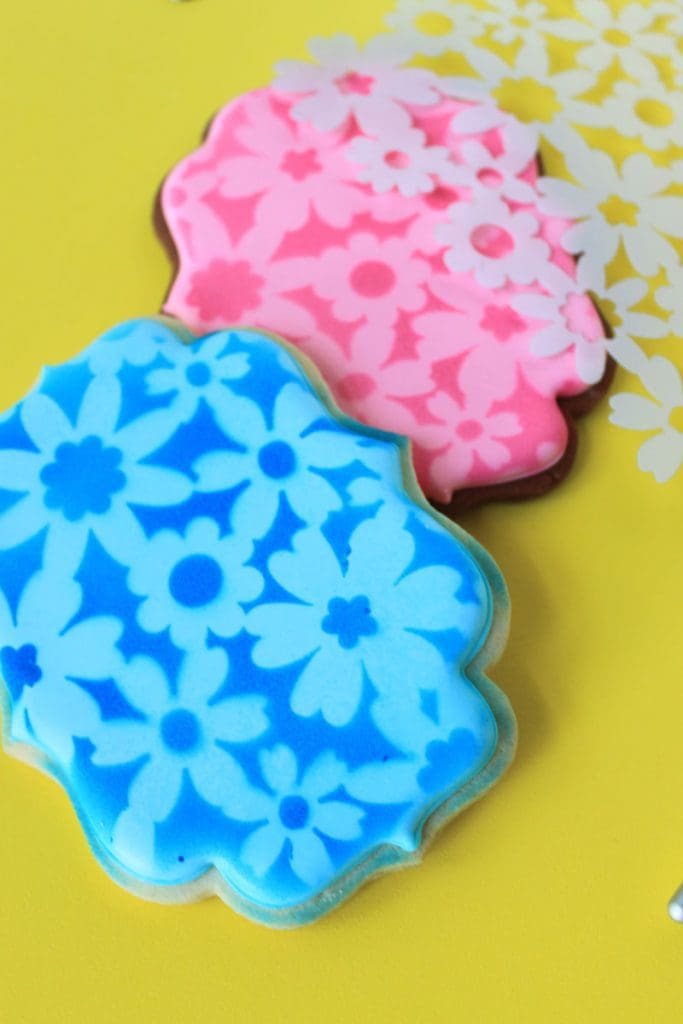
3 | Now airbrush the underlayer. Place your first stencil (for the background pattern) on top of a cookie. It’s critical that your stencil lie as flat as possible on the cookie surface; otherwise, coloring can easily sneak under it into areas you don’t want, leaving you with a fuzzy pattern. I prefer to use the tip of a trussing needle (aka turkey lacer) to hold the stencil flush against the cookie surface. A toothpick or your fingers will also do, though you’re more likely to airbrush yourself (!) with either of these approaches since your hand will be closer to the cookie. It was hard to photograph myself while holding the turkey lacer and airbrushing, but my video shows my stencil steadying approach quite well – if I do say so myself. 🙂
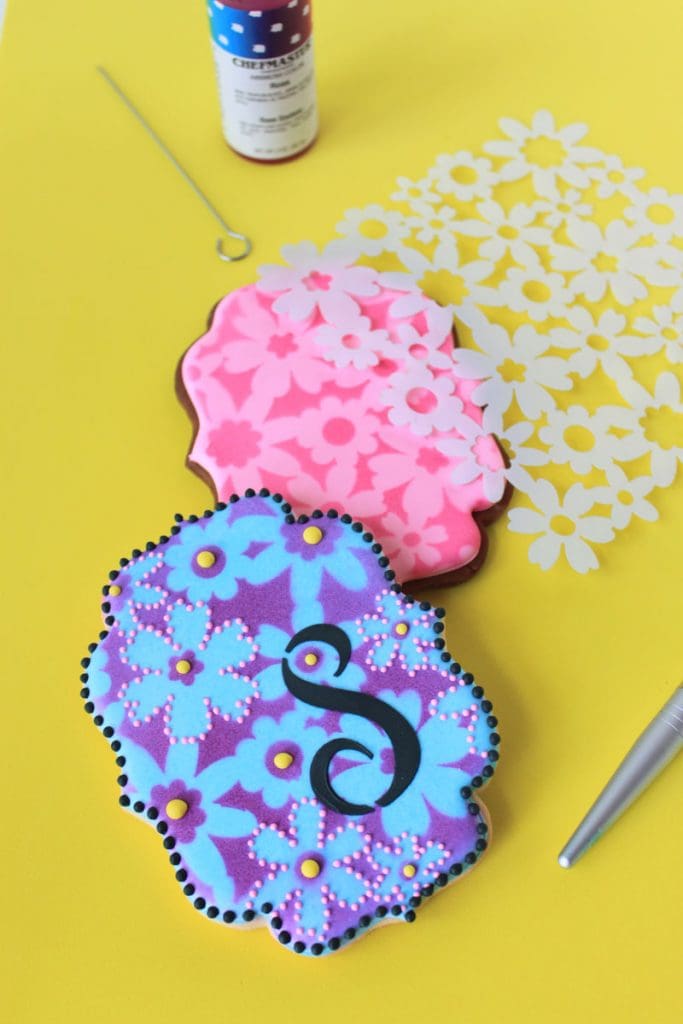
I also find that I get the crispest stencil when I hold the airbrush nozzle as perpendicular to the cookie surface as possible, set the flow to medium speed, and use broad circular motions of my hand to apply the color (rather than directing the color into a particular cookie area at a time). Be careful, however, about holding the airbrush too nozzle-down. If the receptacle is full to the top with coloring, you run the risk of pouring coloring onto your cookie. Again, if in doubt about your airbrushing technique, test the stencil on paper first.

Once you’ve covered the stencil evenly with color, to the desired hue, carefully peel away the stencil (i.e., “roll” it off one side of the cookie) to reveal the pattern. Allow the airbrush coloring to dry to the touch before adding the next icing layer. Airbrush coloring dries very fast, so it will likely be a matter of minutes before you can move onto the next step.
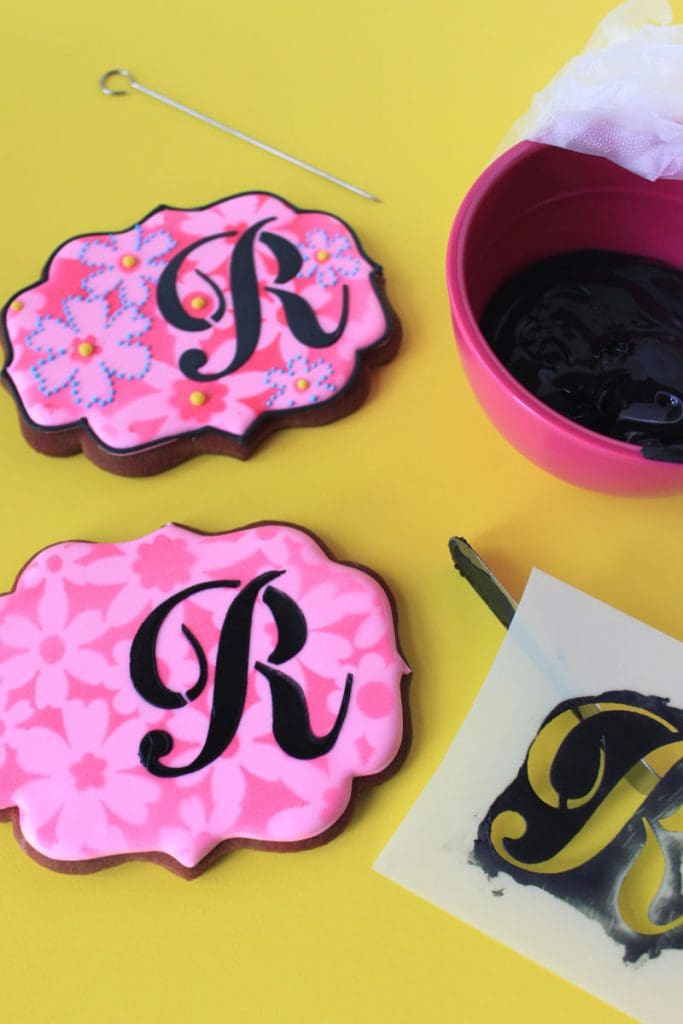
A few added side notes:
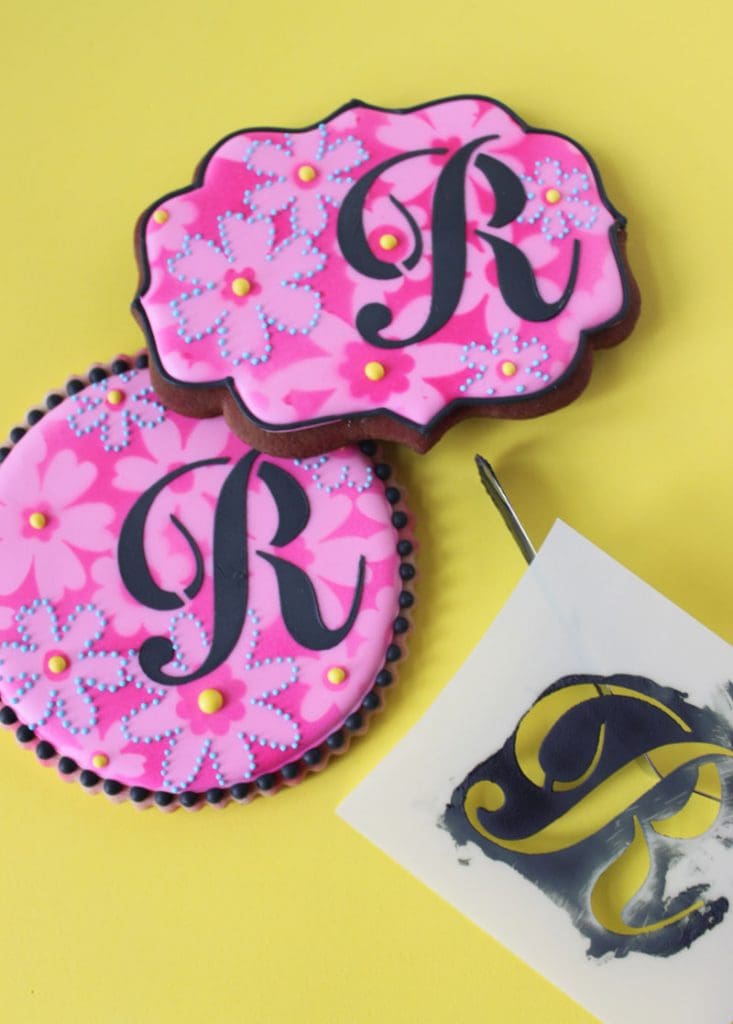
4 | Stencil the icing layer. First, tint your icing. I recommend mixing a color that is darker than the underlying airbrush color to ensure that no airbrush coloring peeks through the stenciled icing on top. Next, thin your icing to stenciling consistency, which is fairly thick. (I like the icing to have body and to cling to the end of an offset spatula without falling off; see seventh photo.)
Anchor the stencil flat on the cookie with a trussing needle as described in Step 3. Using a small offset spatula, gently dab tiny amounts of icing on top of the stencil to cover all the stencil openings. At this point, I am going for coverage only, and not worrying too much about whether the icing is evenly applied. However, use the icing sparingly at all times. The more icing you use, the more likely it is to creep under the stencil especially on the final swiping passes.
Once you’ve covered all the openings, clean off the offset spatula and make one or two full passes across the entire stencil to smooth out any unevenness and to eliminate icing track marks. At all times, hold the stencil down firmly with the trussing needle, as any sliding of the stencil will result in a blurry pattern. The icing should also be spread no thicker than the thickness of the stencil; otherwise, you’ll lift up excess icing and create icing peaks when you remove the stencil.
Peel away the stencil as described in Step 3 to reveal the final pattern! For more stenciling tips, see my tutorial or Lesson 10 in my cookie decorating video series.
5 | Add finishing details. You can go as over-the-top or as minimalist as you want with further icing embellishments. Just be sure that any stenciled underlayers are dry to the touch before adding icing on top. (If colorings are still wet, there’s greater chance of the stenciled colors bleeding into the details.) Here, I applied small blue and yellow dots using icing of beadwork consistency to accentuate the floral pattern in the stenciled background pattern. I also used black icing of beadwork consistency for dotted borders and thicker black icing of outlining consistency for outlines – naturally! Even a small change in border technique can lead to markedly different looks, as demonstrated in my last photo.
So that was pretty easy, right? If my words weren’t enough, again, please check out my related video on YouTube:

Be the first to hear about my latest events, tutorials, and product announcements by subscribing to my newsletter!
Schedule willing, I release one each month, roughly mid-month. And, guess what else?! Once you subscribe, you’ll receive a special one-time coupon code for 20% off my online tutorials. The code will be delivered in your subscription confirmation email, so keep your eyes peeled (as it cannot be resent). Thanks in advance for subscribing!
Live sweetly, Julia