

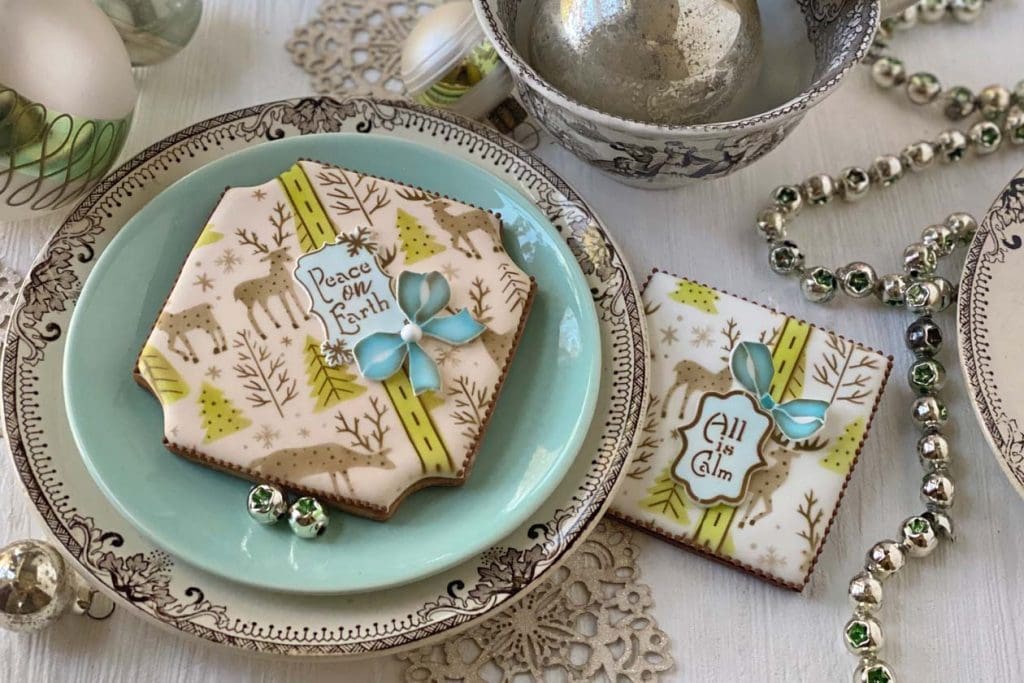

Ack, where did the year go?! I swear, I utter this same thing every November when I launch my first Christmas stencils of the year. Truly, 2021 escaped me; it blazed by in such a flash. In fact, I’ve already designed sets for Valentine’s Day and Easter!
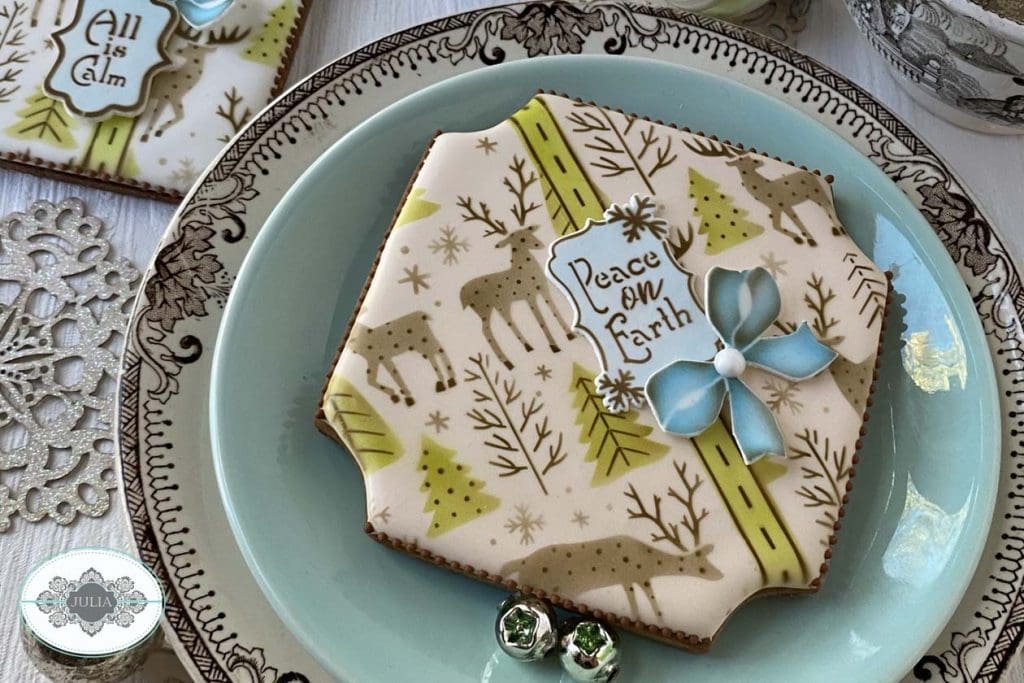
But don’t let me get ahead of myself! I’ve got some fun and fabulous Christmas sets for you, starting with this one that is designed to look like gift wrap and styled after the many-patterned reindeer-in-the-woods designs I’ve admired over the years. You know, the ones where patterns are superimposed on reindeer and tree silhouettes? I love that playful look, and so this release, aptly called Reindeer Wrap, is my stencil-take on it:
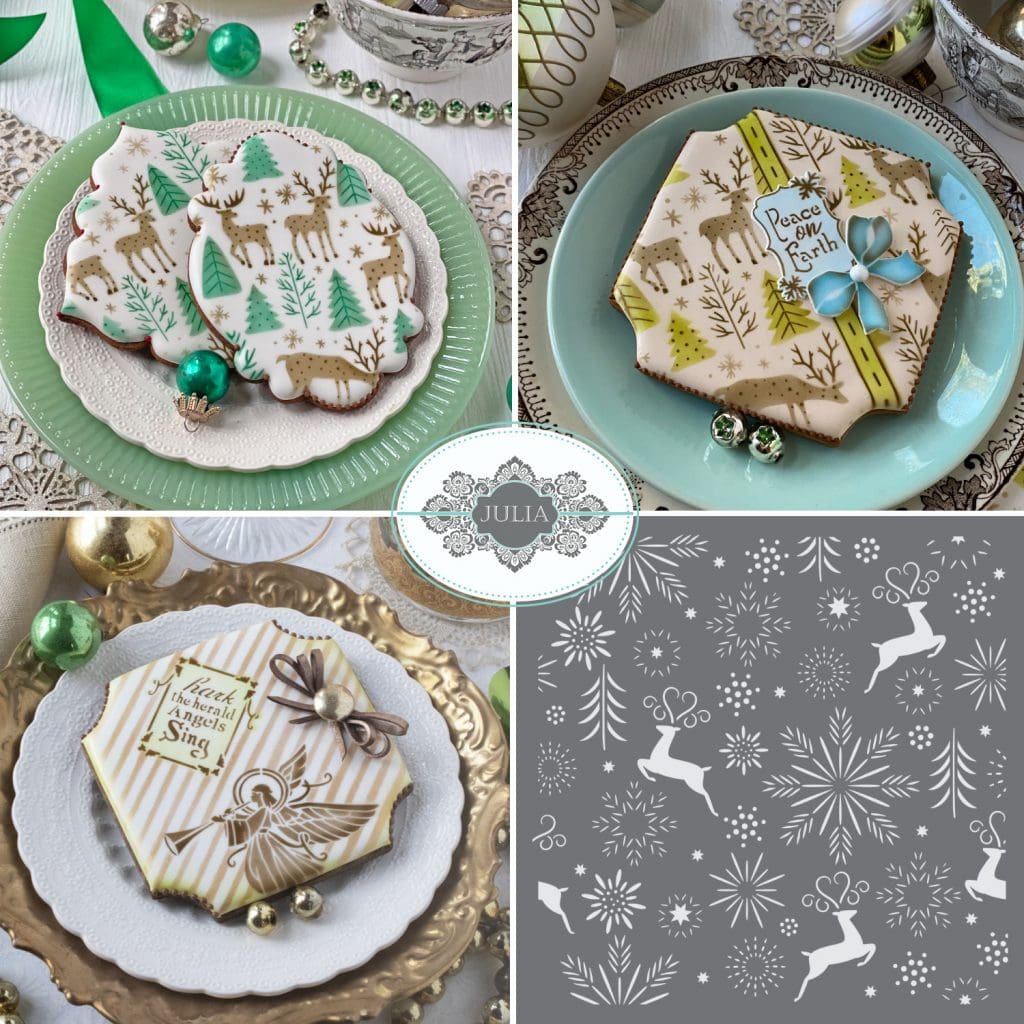
To help you find this month’s stencils, check out these quick links on my partner Confection Couture Stencils‘ site:
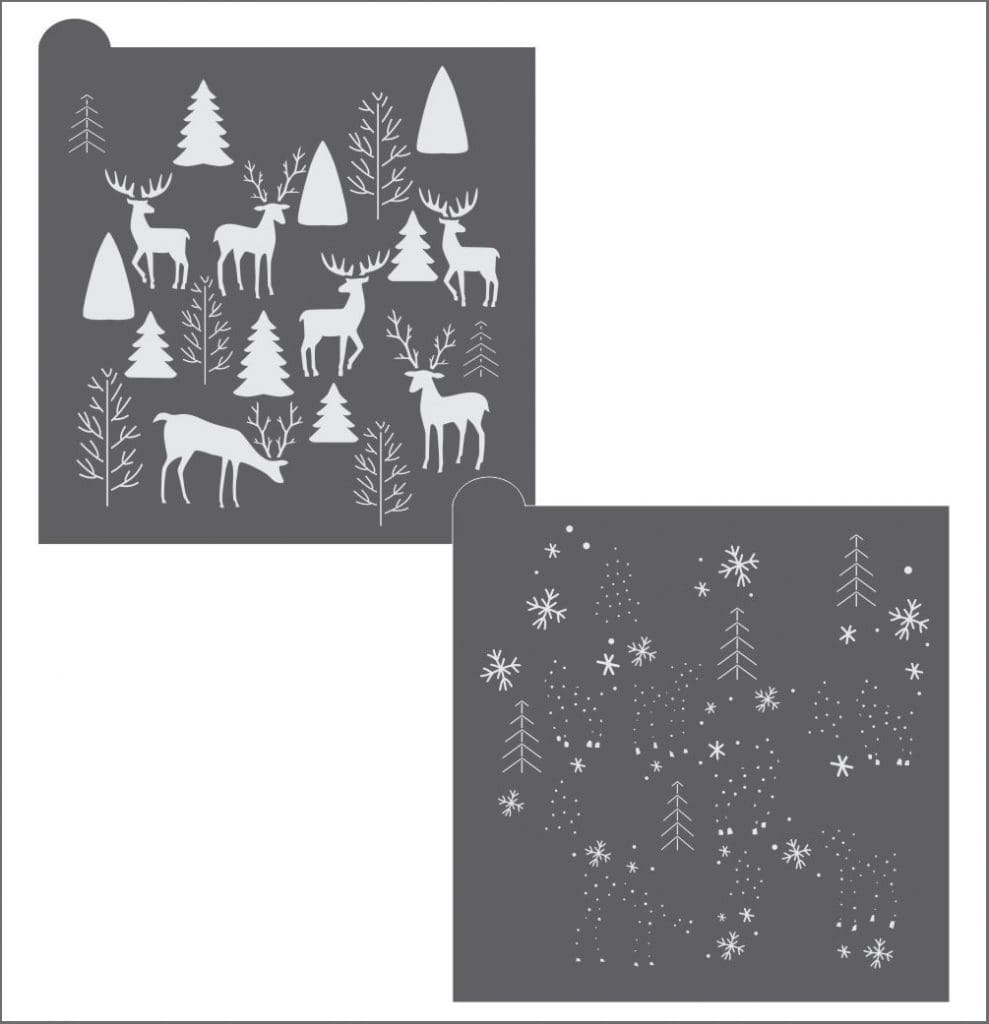
Of course, as always, the background stencil in the background set (which, this month, actually consists of two pieces: the silhouettes and the pattern overlay) is sold separately and can be found under Abstract Reindeer Background Cookie Stencil Set on my partner’s site. Here’s a close-up view of those two pieces:

As you hopefully know from reading last month’s post, I am now designing a cutter per month to go with each set. This month, I introduce Kerry’s Gift, the side view of a bow-topped package with a bump-out at the top that perfectly fits the two-looped bow in the Reindeer Wrap release. Because I can think of no greater gift than the mentorship I received over the years from the late, great cake artist Kerry Vincent, I’ve named this cutter after her. Each day, I strive to pass on at least one of the many life lessons learned from Kerry, hoping that I too might help at least a few sugar artists to grow and flourish. I’ll never fill Kerry’s big shoes, but I’ll sure have fun trying! Aside: Though specially designed to work with this month’s stencil release, this cutter makes memorable cookie gifts for any occasion.


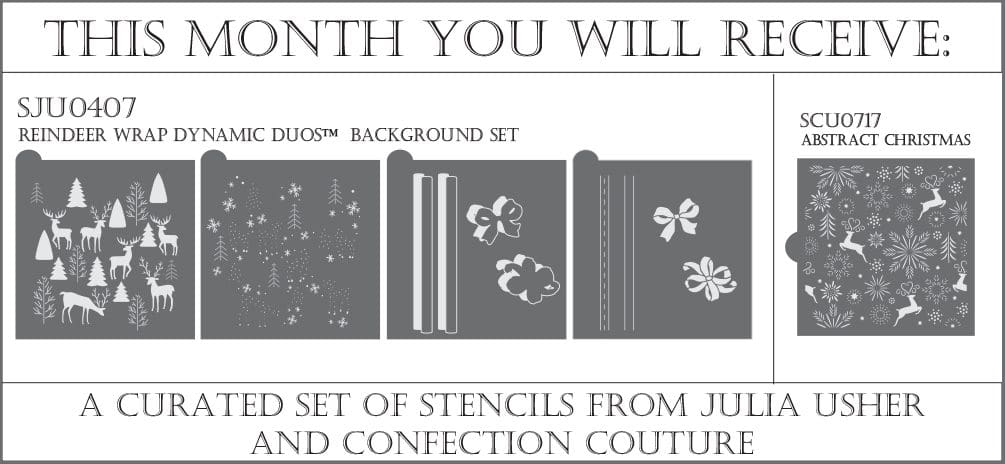
Let’s not forget my fabulous Stencil of the Month Club in the midst of all of this new cutter talk! Remember, if you join it, each month you’ll automatically get the current month’s background set along with my partner’s single companion stencil, all at a substantial (>15%) discount. For example, here’s what my club’s offering looks like for October 2021:

As always, there are tons of designs you can make with both sets in this release. The style reel below shares a small sampling of these possibilities, while the time-lapsed tutorial underneath it demonstrates how I made one design and the fondant appliqués used on so many of the cookies in this post. Enjoy!
Ready to learn the ins and outs of each set in this release? Read on; I’ve also got many more design photos that you can peruse at your leisure!
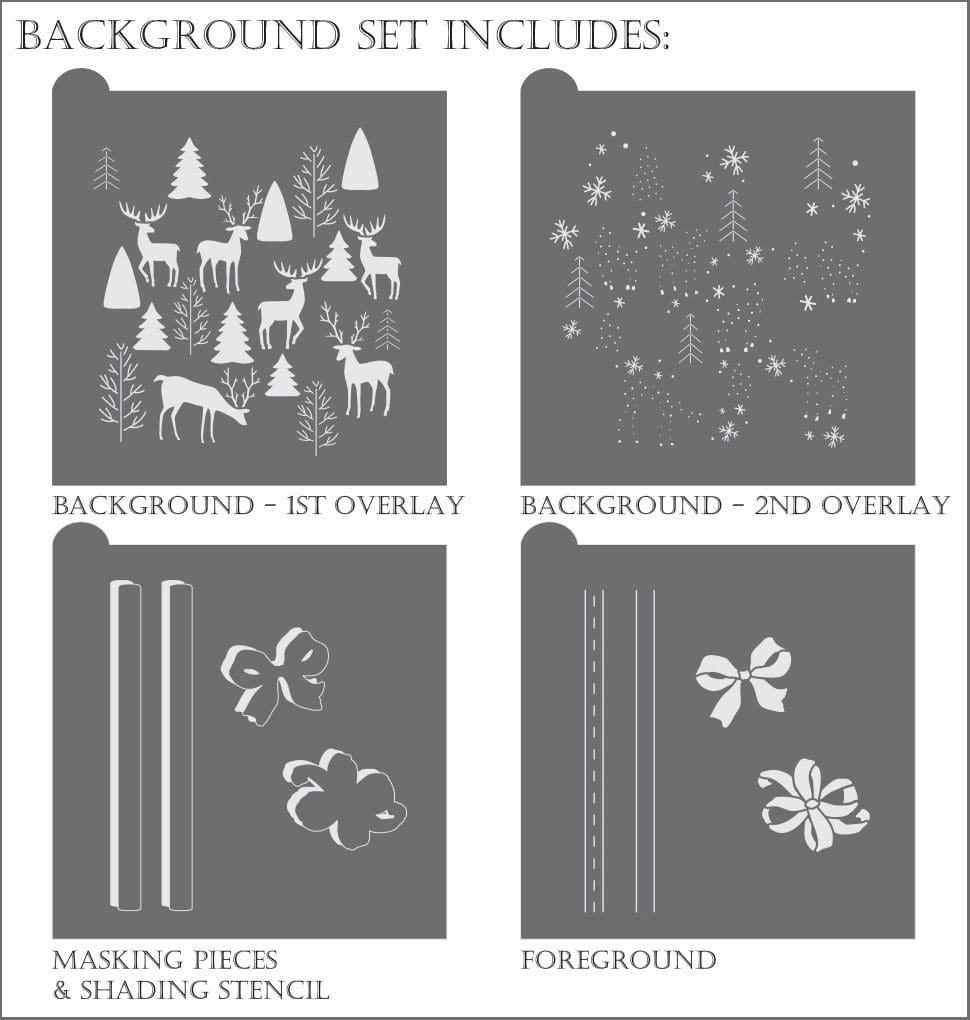

As you can see above, this background set is unique, because it contains a second patterned overlay to dress up the silhouettes in the first. You can use the first overlay all by itself, but you know me pretty well by now . . . I love details, and so I pretty much always use the two overlays together. Remember, these two overlays equate to my Abstract Reindeer Background Cookie Stencil Set and can be bought separately without the foreground bow elements and their corresponding masking pieces.
Here’s what those overlays look like when they cover the entirety of a cookie in classic Christmas colors (in later designs, I’ll use them only on parts of cookies and in less traditional colors, as shown in the post’s cover image) . . .
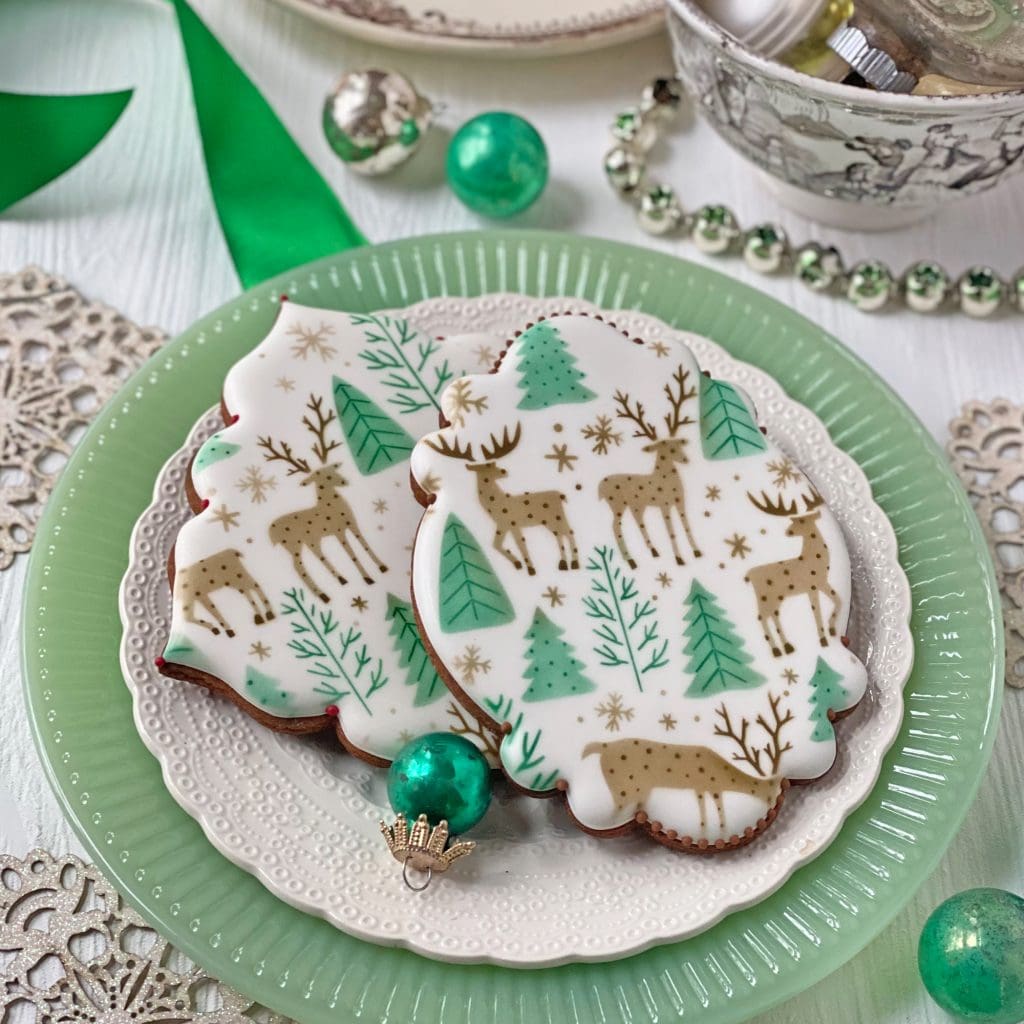

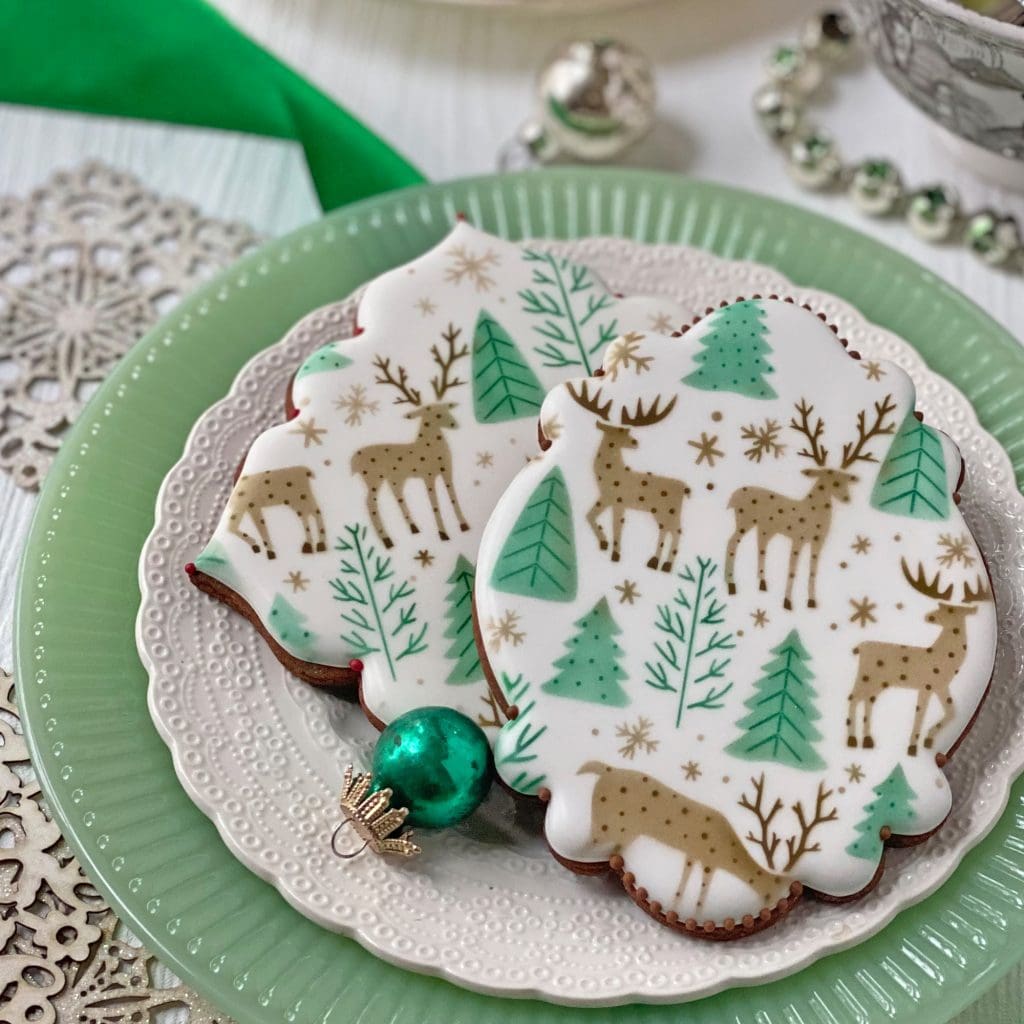

Now, let me separate them so you can see the big cookie on the bottom more clearly . . .
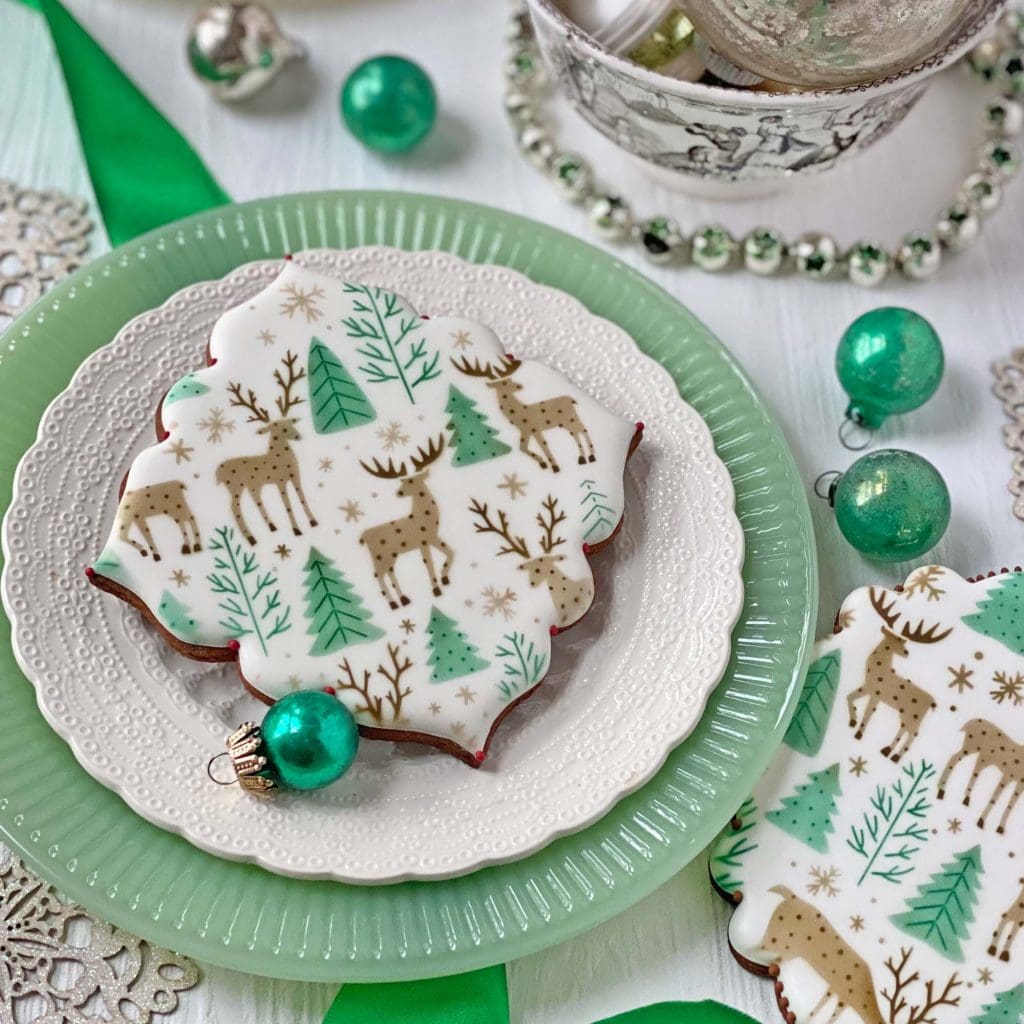

I’ve kept it pretty simple so far with just two colorings (Chefmaster Harvest Brown and AmeriMist Leaf Green) applied in two different intensities. Yet, if I dare say so myself, the look is striking. Another high-impact, yet simple approach is to use just the foreground bow and ribbon elements, as I did on these much smaller rectangular cookies . . .
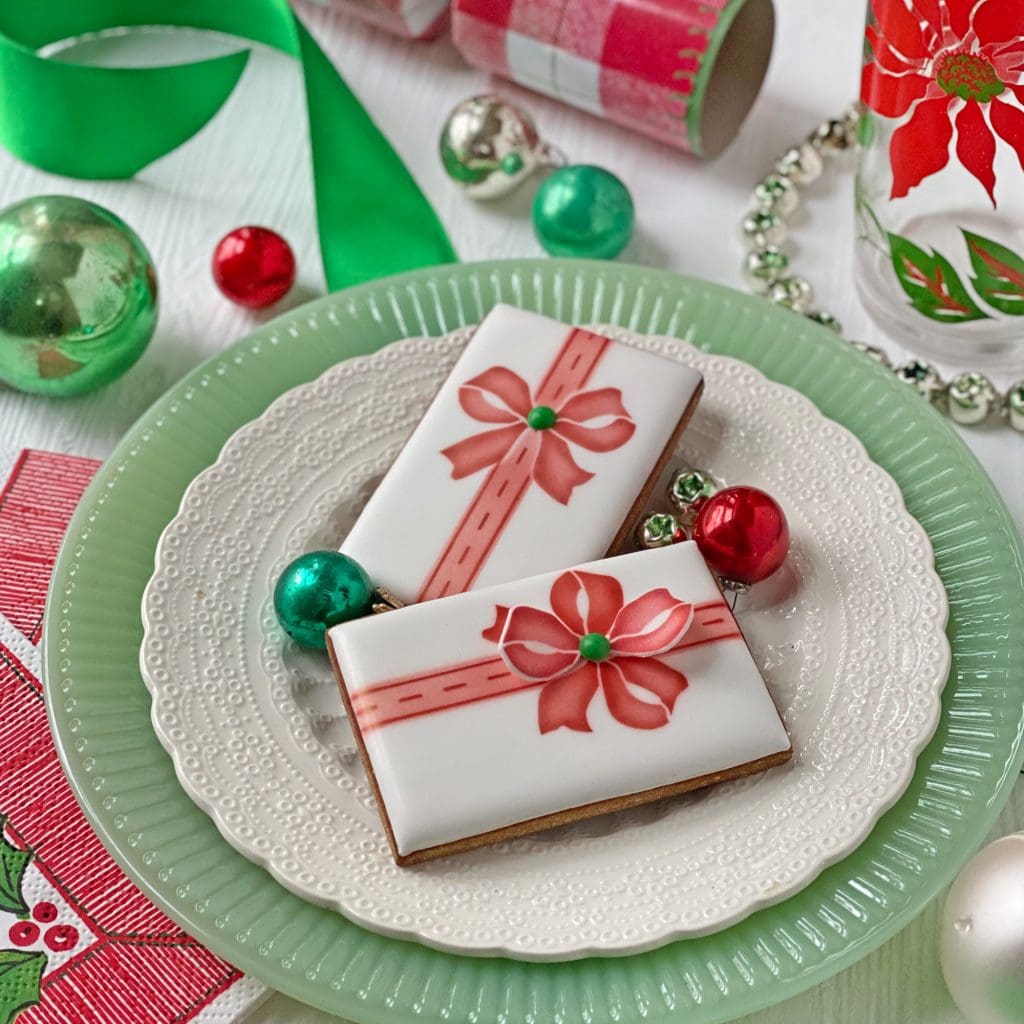

Here’s a zoomed-in look at the cookie in the foreground, which makes use of one of those fondant appliqués to which I referred at the top of this post . . .
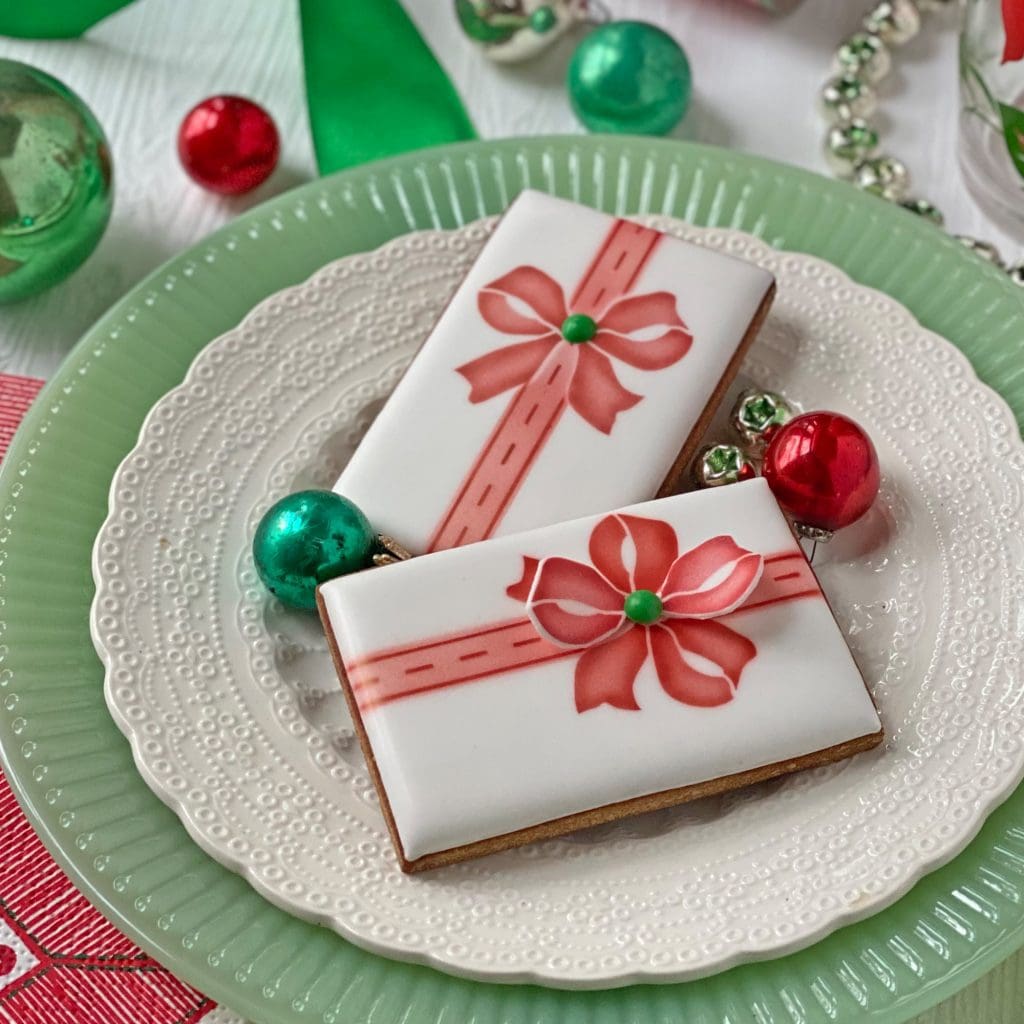

This one is actually contoured and made by airbrushing the bow on a sheet of rolled fondant, cutting out the central loops in one piece, and then shaping that piece in the interior of a paper towel tube. Once dry, it’s glued to the cookie with royal icing and topped with a tiny royal icing transfer (though it looks great transfer-less too)!
From here, I went bow-and-ribbon happy, topping the background overlays with all sorts of variations of those elements. Let’s start with the most spare look using a single bow . . .
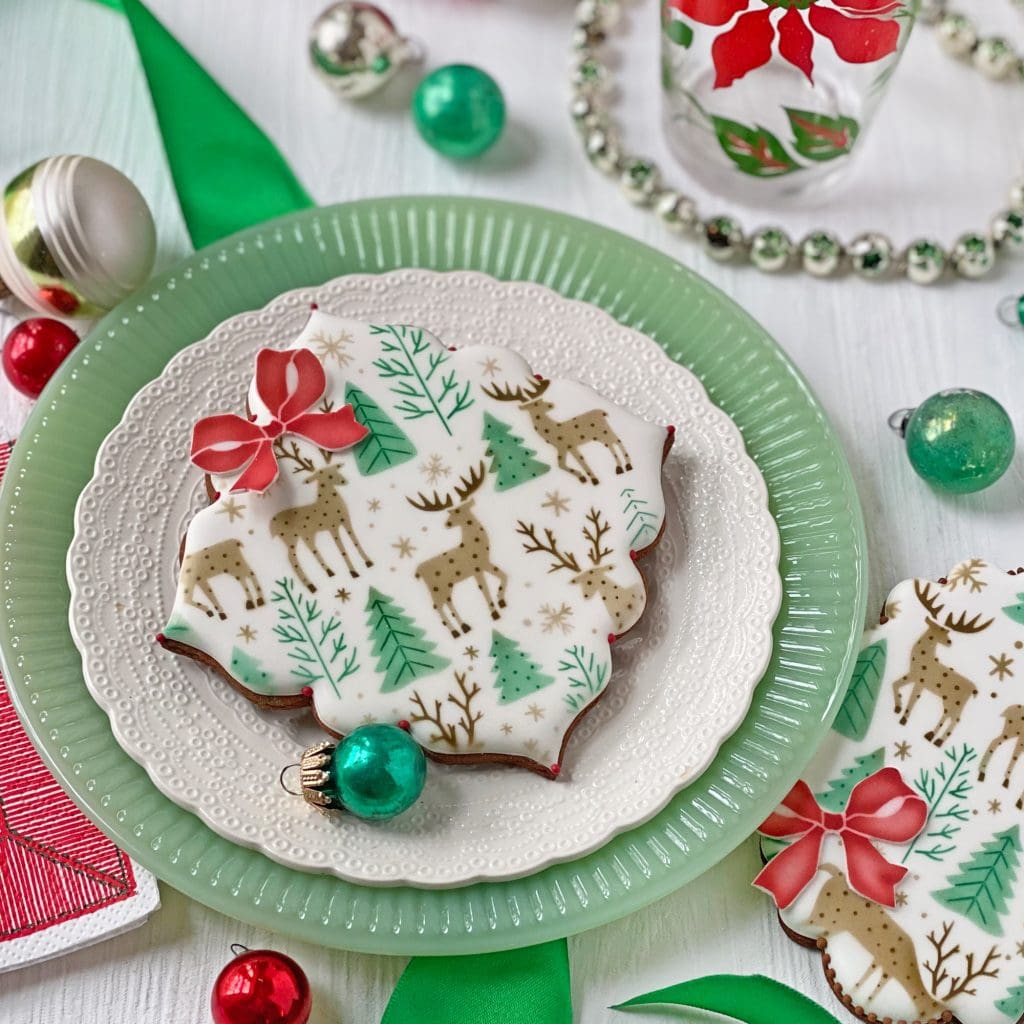

A little closer . . .
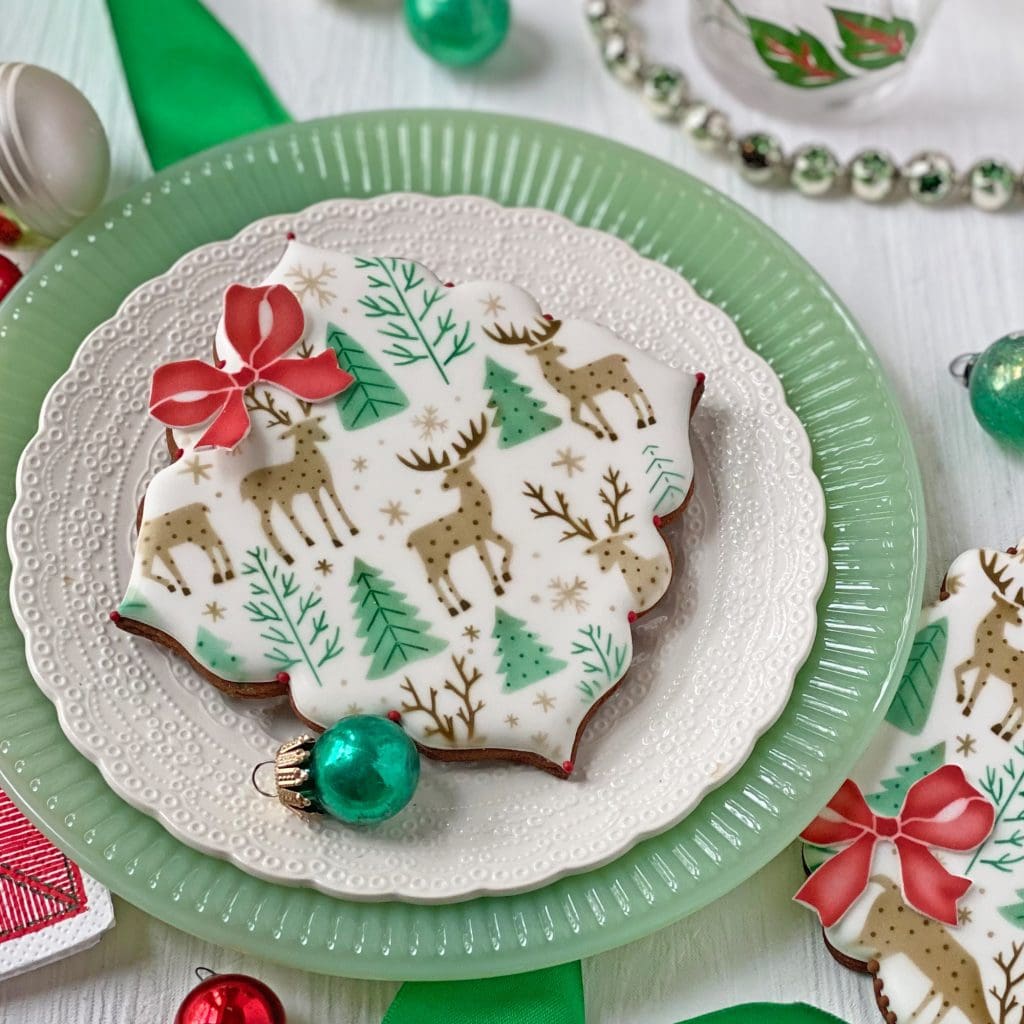

Oops, those bows were all bead-less. Here is the same cookie with the addition of a royal icing transfer. I love the added pop and dimension that this small detail brings . . .
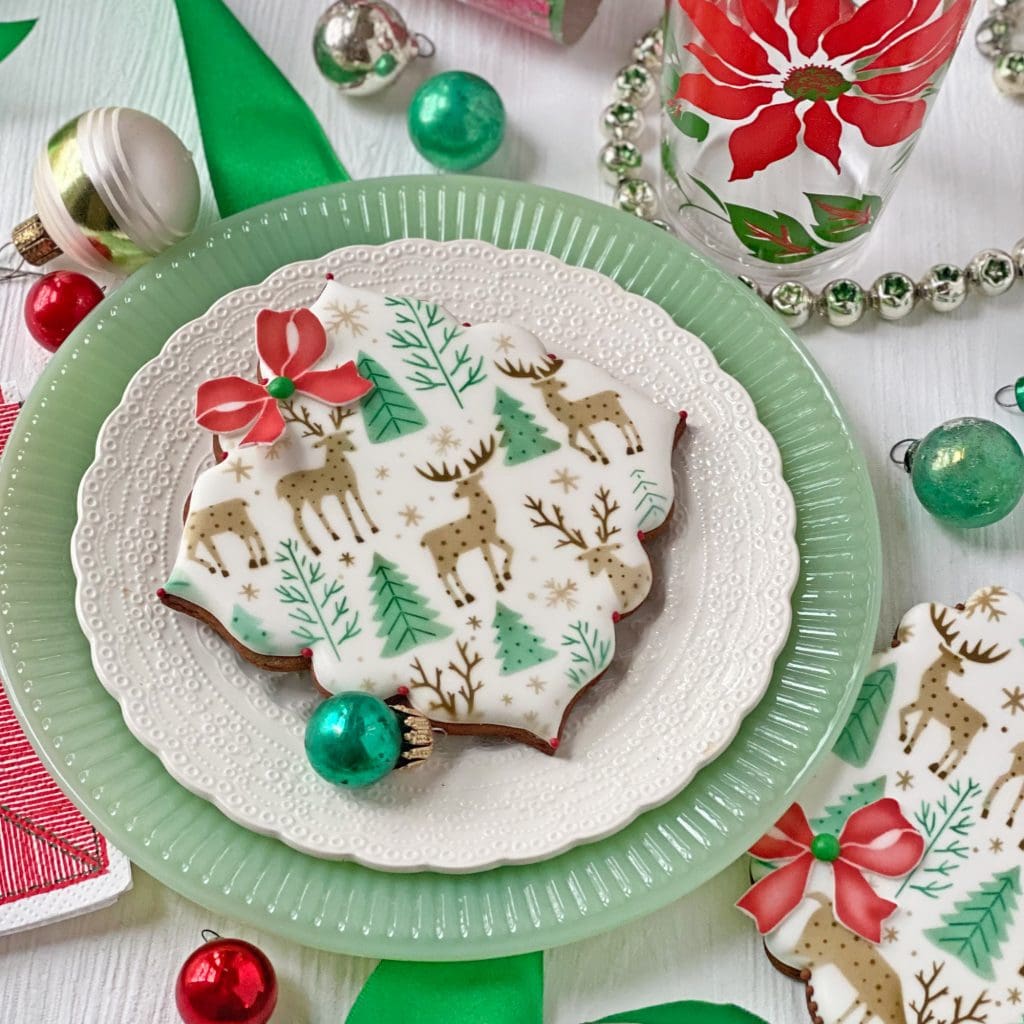

And, I love how the addition of a single color (in this case, AmeriMist Electric Green around the perimeter) frames the pattern and adds spark . . .
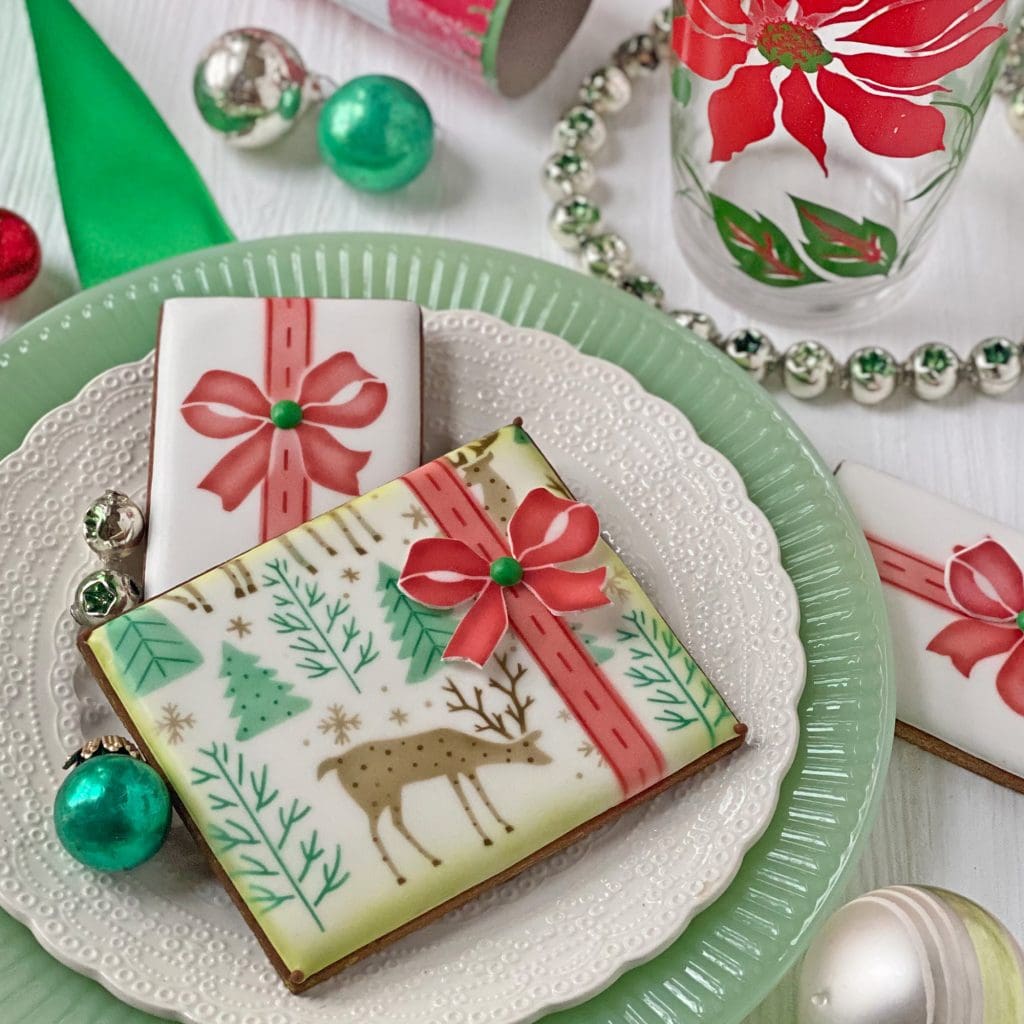

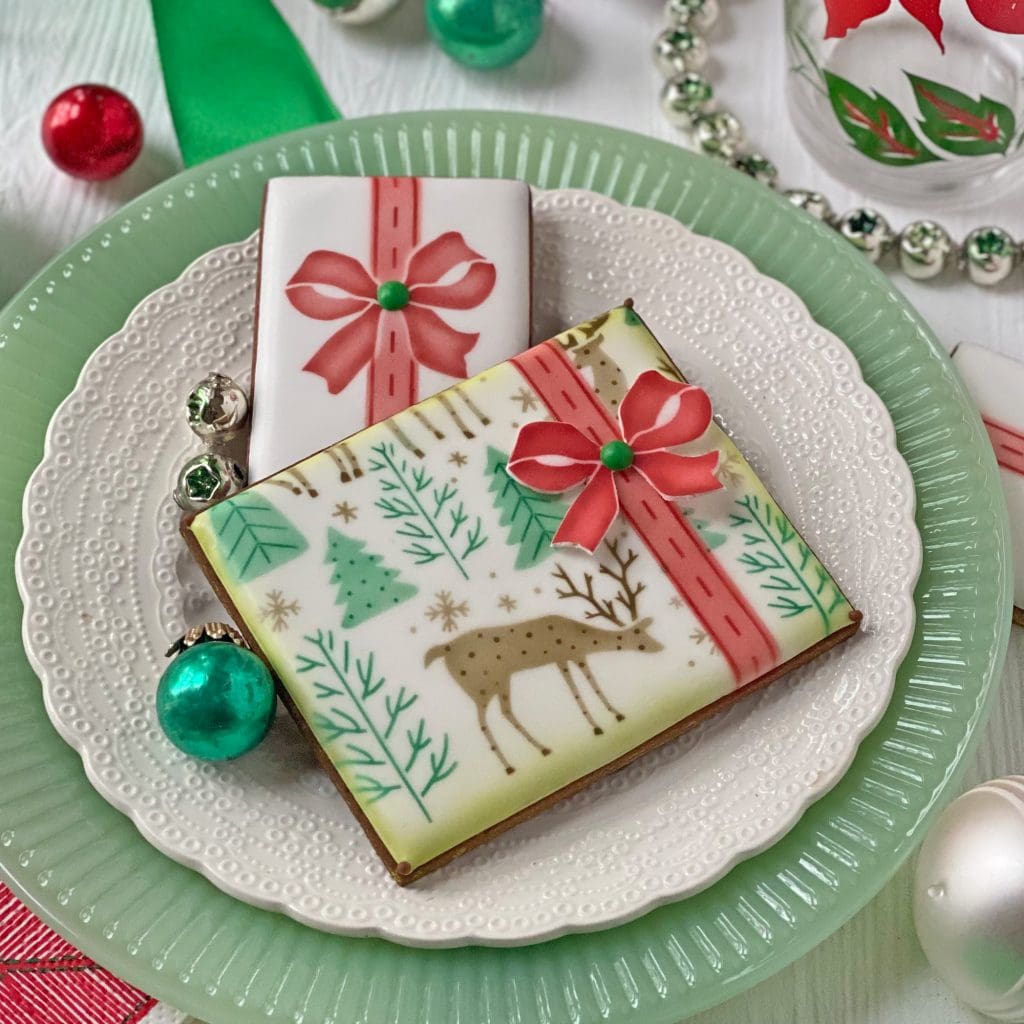
Zooming in on those bows . . . Of course, the one in the foreground is an appliqué, which is why it’s lifting off the cookie. Conversely, the one in the background is directly airbrushed on the cookie, which leads to a very clean and streamlined look.

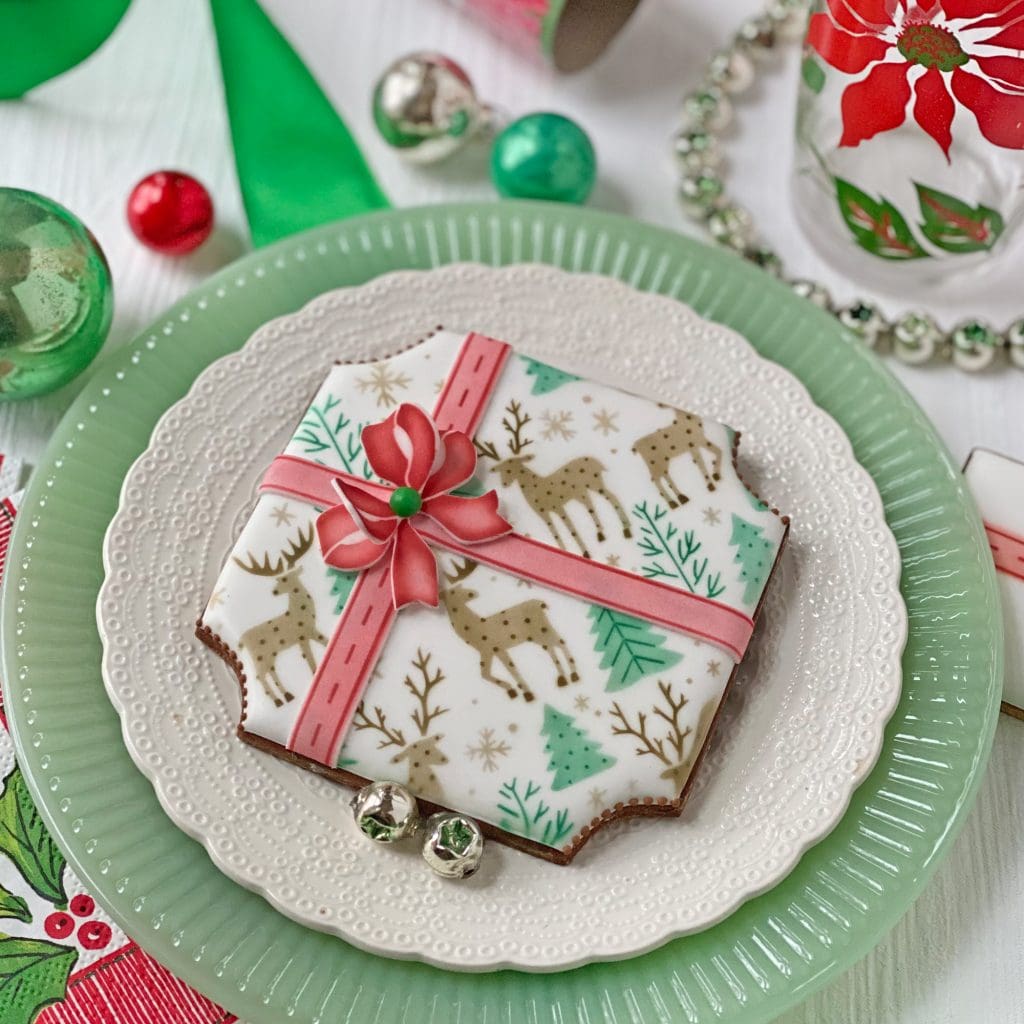
In all cases to this point, the long ribbons were also airbrushed directly on the cookies. However, in the next few examples, the ribbons are conformable fondant appliqués, meaning ones that are airbrushed, cut, and then set immediately on the cookie (with no drying time) so that they conform to the surface. The bows in the first two photos also have added lift, as they are double-decker pre-dried fondant appliqués.


More beribboned cookies coming up ![]()
![]()
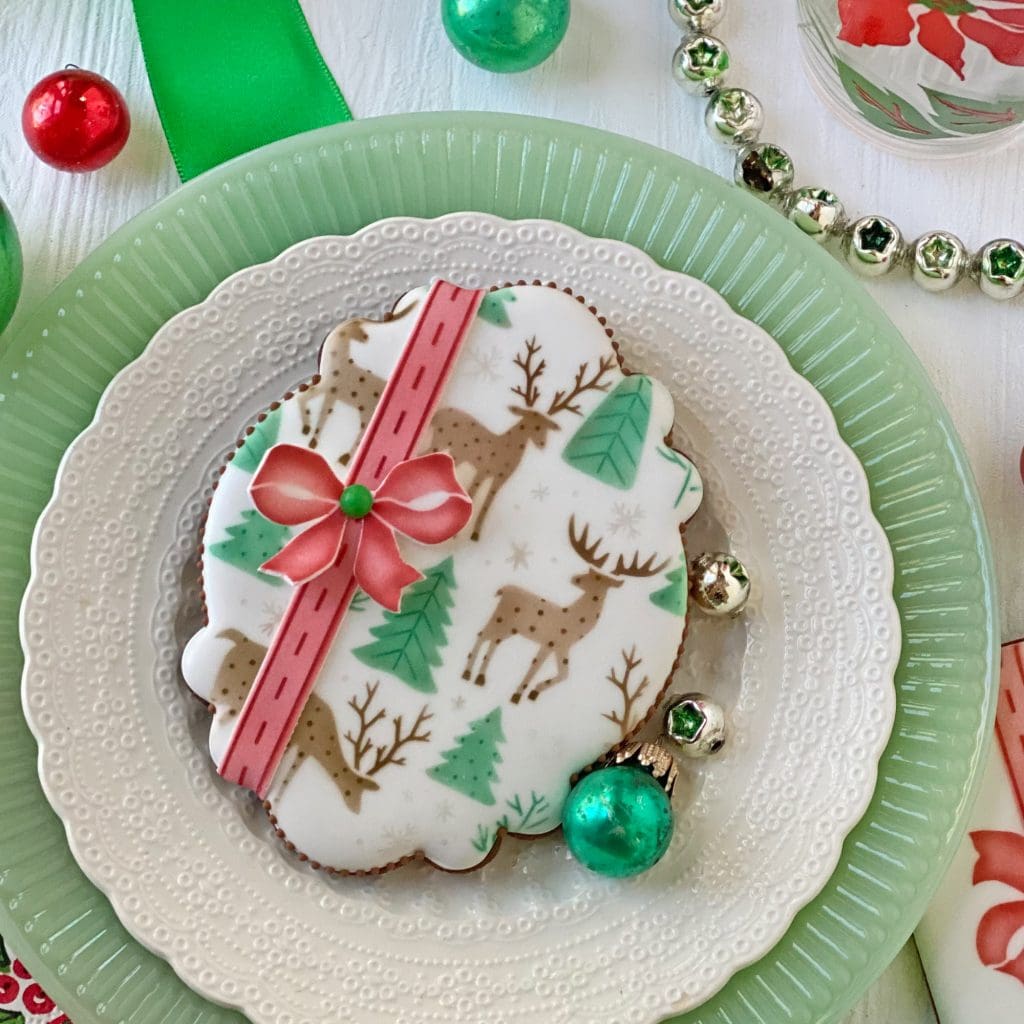

On the cookie above, I airbrushed the snowflakes with pearl sheen instead of lightly hitting them with brown as on all the others. You can better see the difference in the cookies below, where light brown is on the background cookie and pearl is on the foreground one.

Now, let’s talk messages. They add so many more design variations, as you should know from following these posts (which I hope you do ![]()
![]()
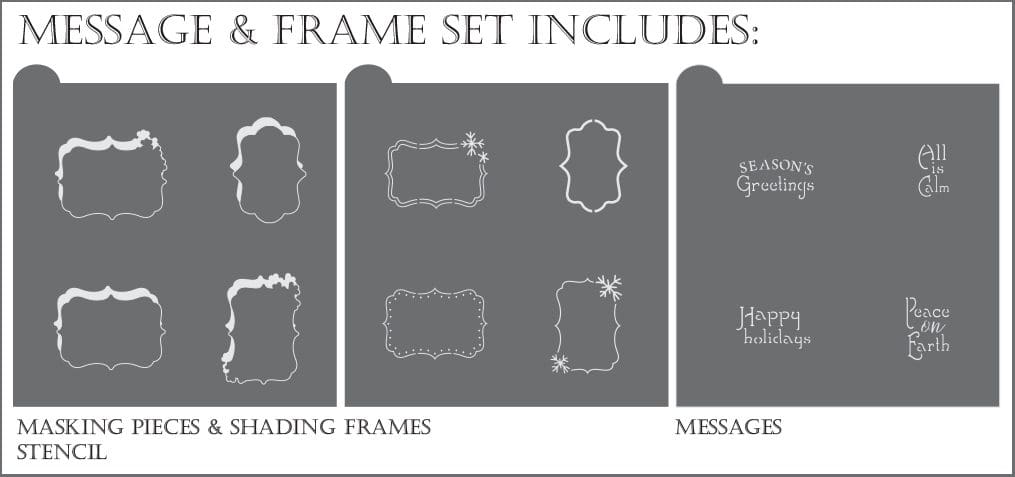

This time, there are four messages and frames, some of which are interchangeable. And, of course, you can airbrush them directly on cookies or add them as fondant appliqués. Because there is a lot going on already with the background stencil, I tend to prefer to use fondant appliqués to provide a little “visual separation” between the background and the messages on top. Here are just a few of the possibilities, starting first with a dressing up of some the cookies shown at the start of this post . . .
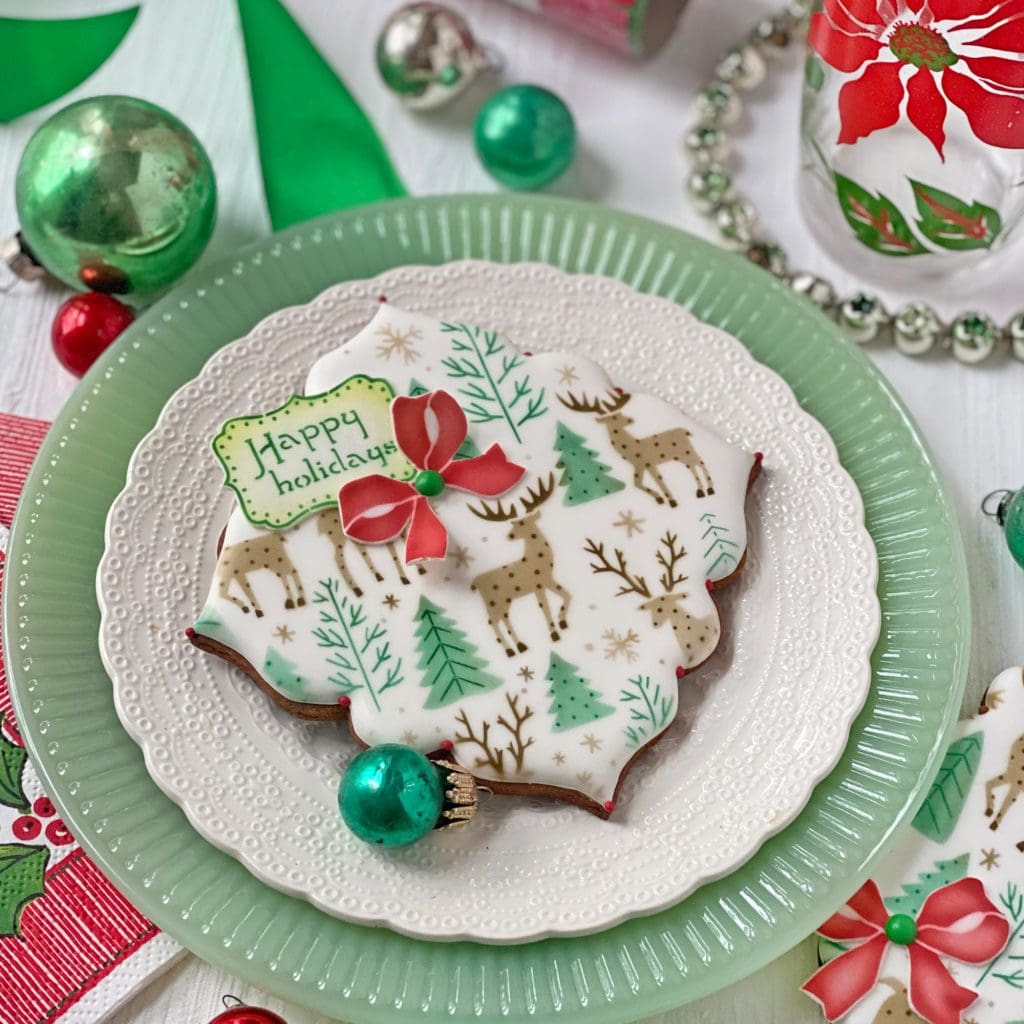

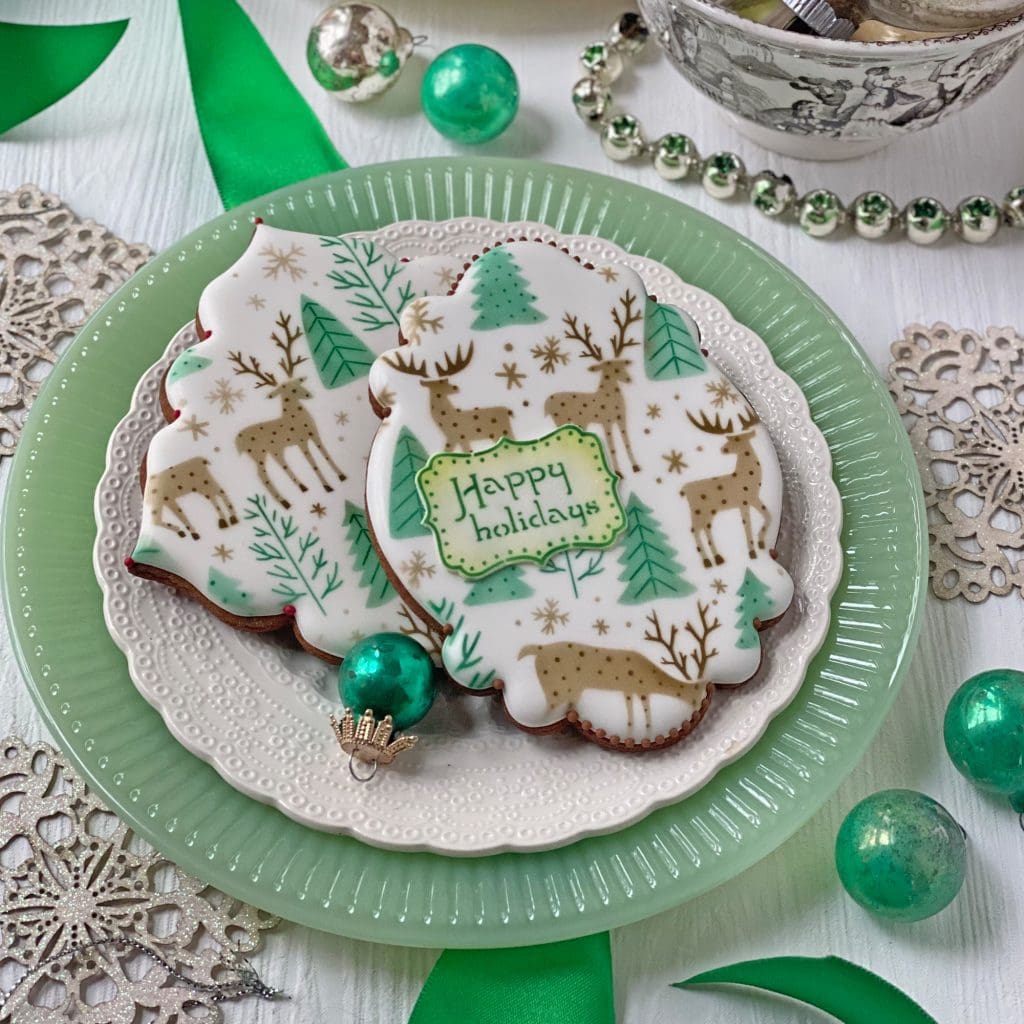

In the next series of three or four cookies, I took a more mod approach by adding bold pops of electric green behind the messages and directly on some cookies, and also by introducing asymmetry (stenciling only half of the cookie) . . .
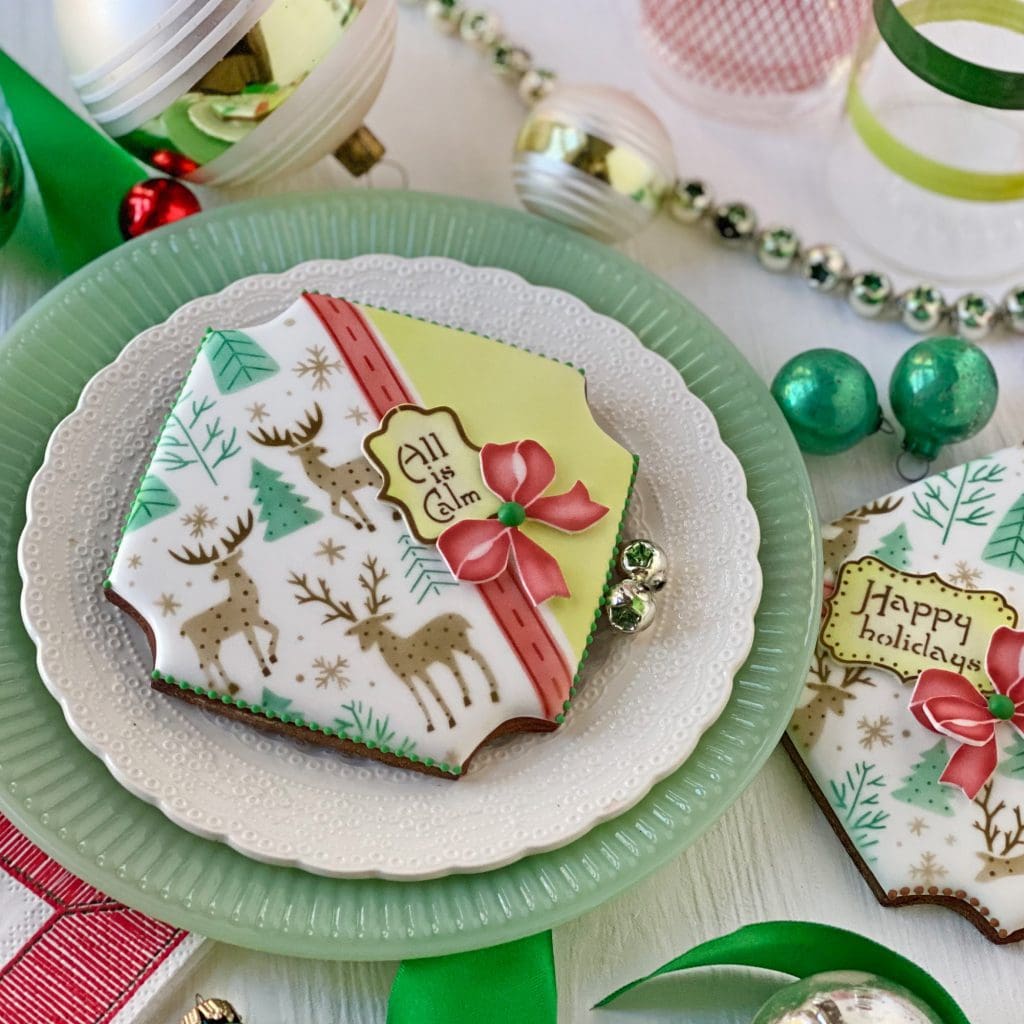

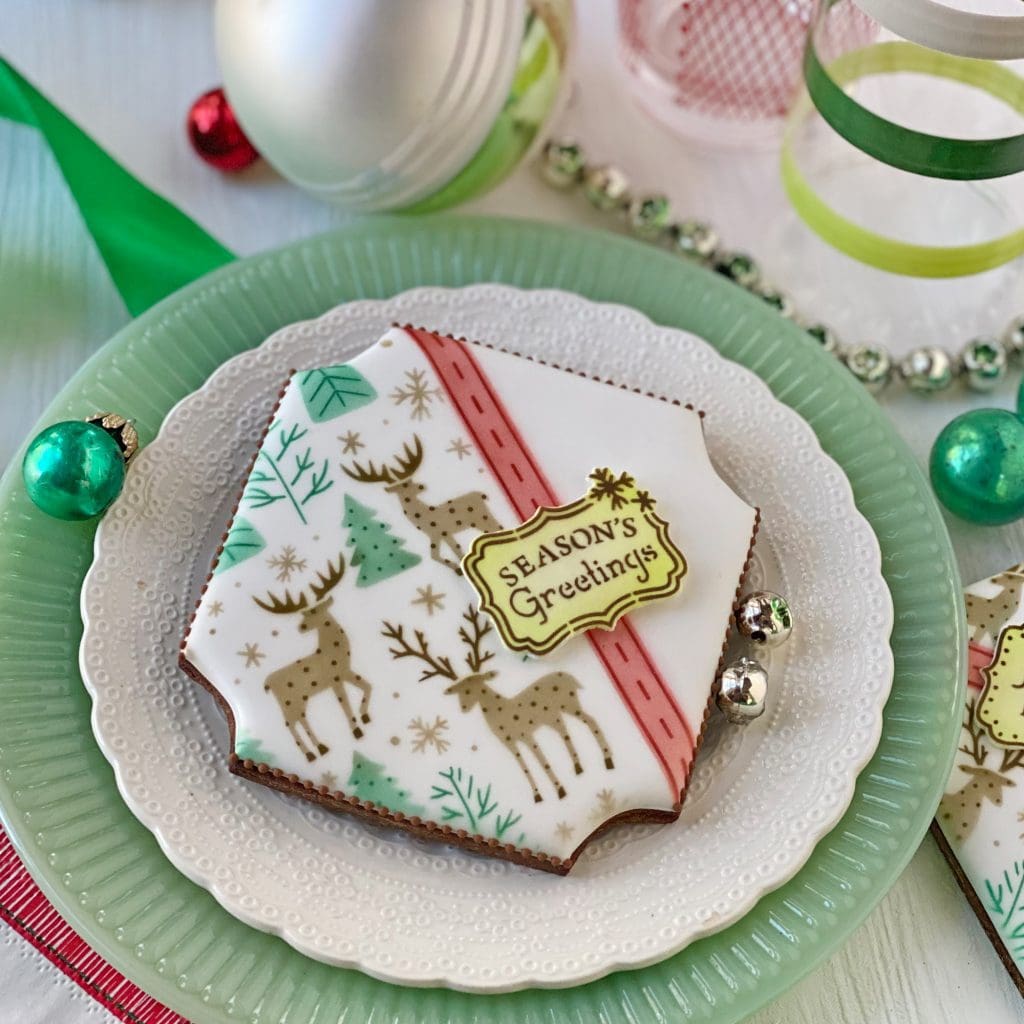


The following cookie also uses the larger four-loop bow in the set – three times in three different layers!

I think you’ll agree that just that small introduction of electric green resulted in a bold departure from the classic Christmas red and green. To further underscore how color plays a vital role with these stencils, I changed up the palette yet again. The following combo of brown, electric green, and sky blue has a very modern feel as well, but is much richer and more luxurious in my opinion . . .
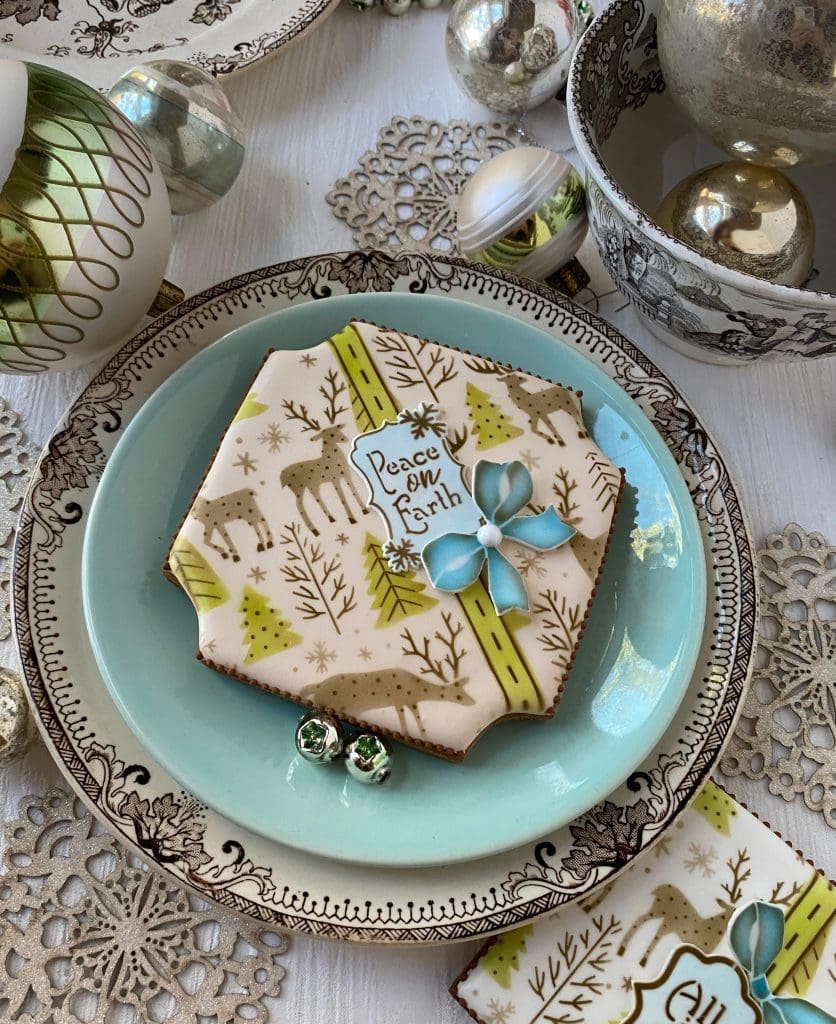

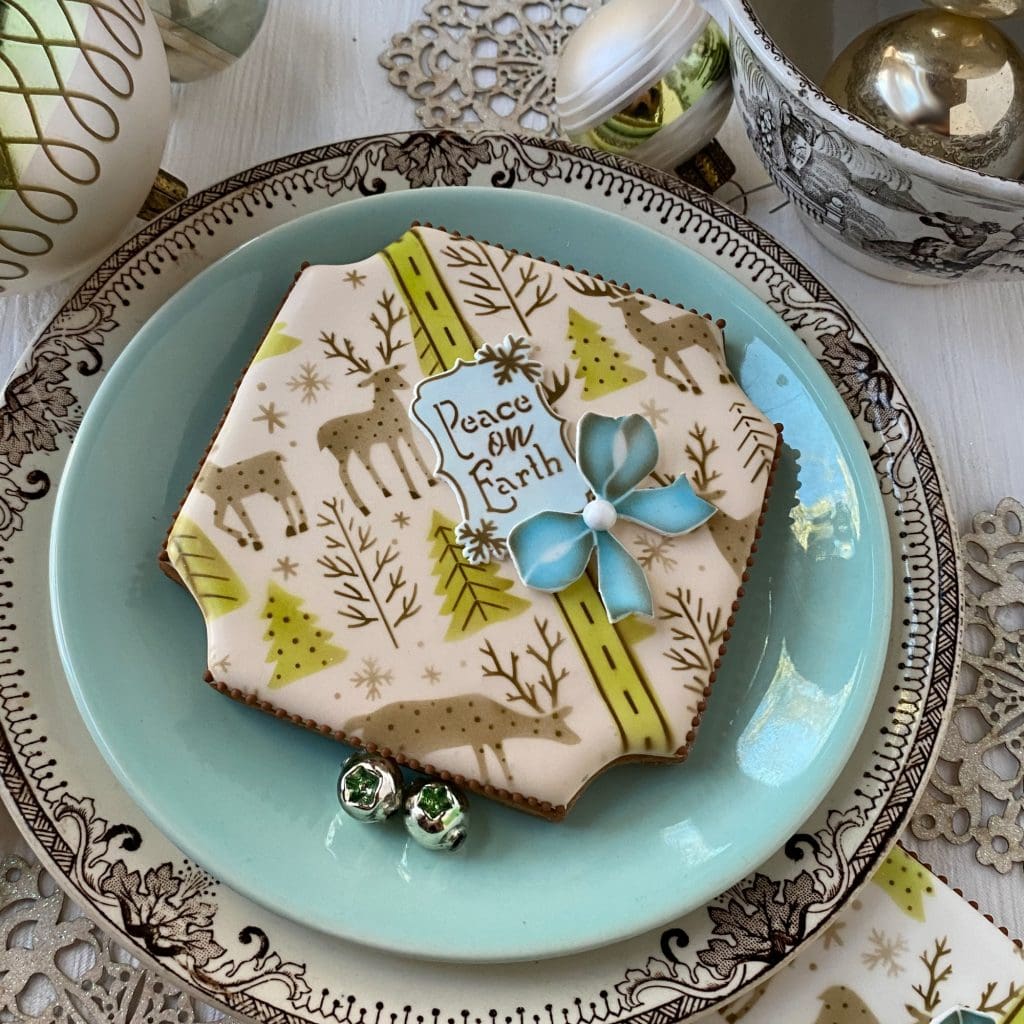

I wish now that I had done more cookies in this palette! But onward . . . we have yet to talk about my new Kerry’s Gift cookie cutter.
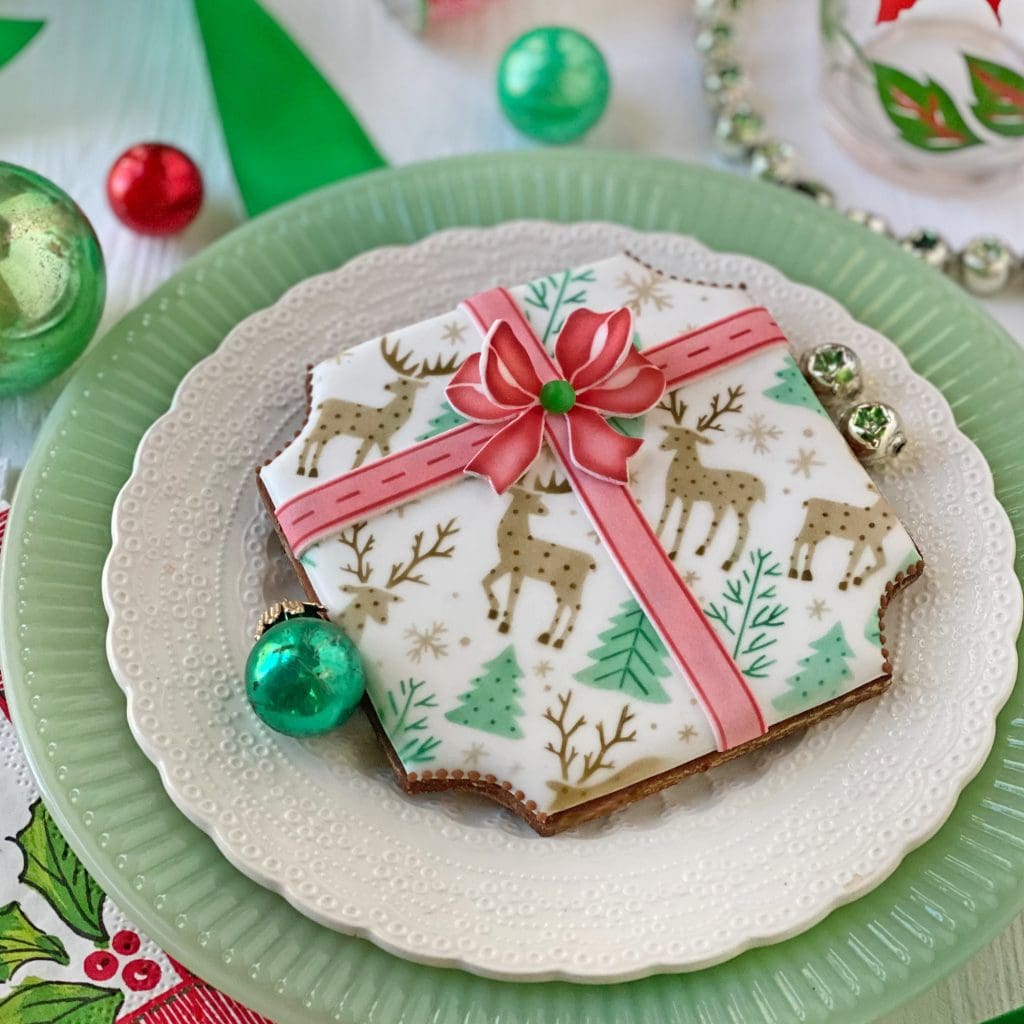
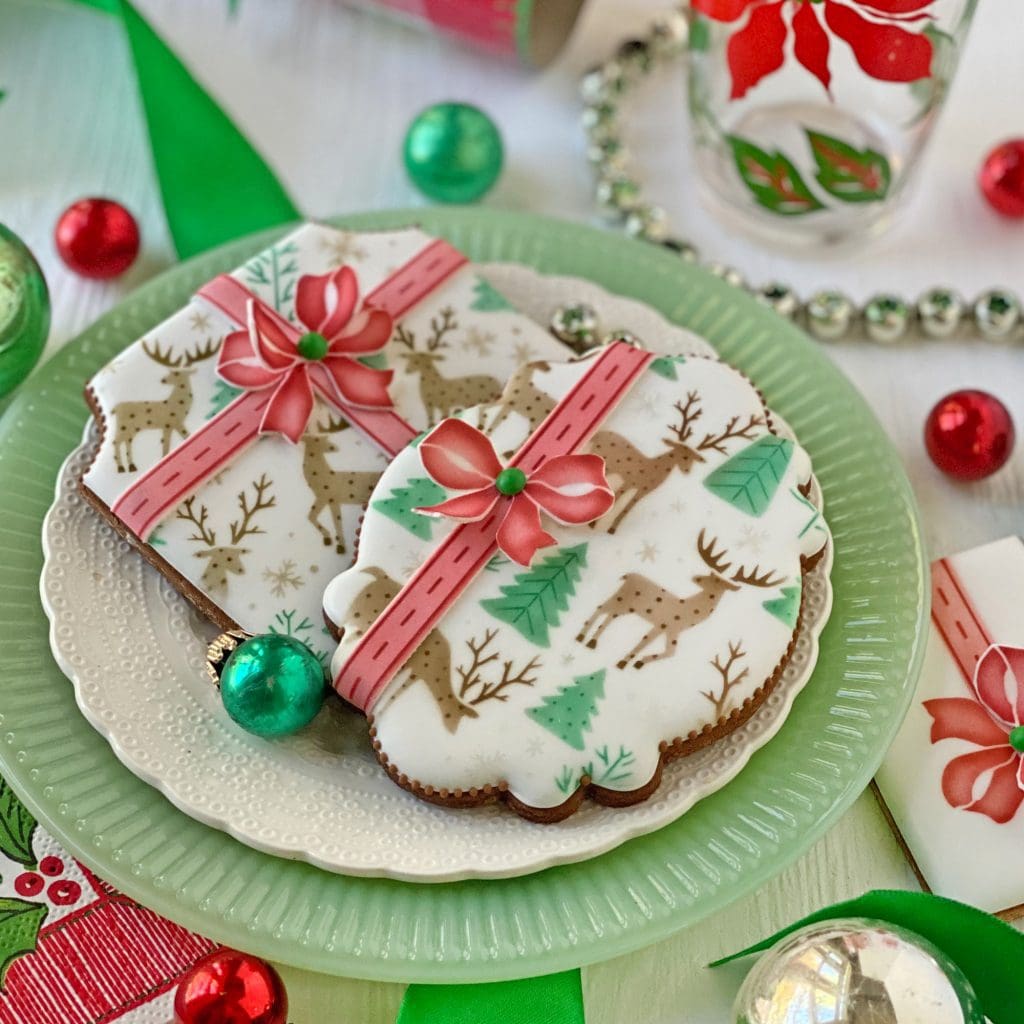
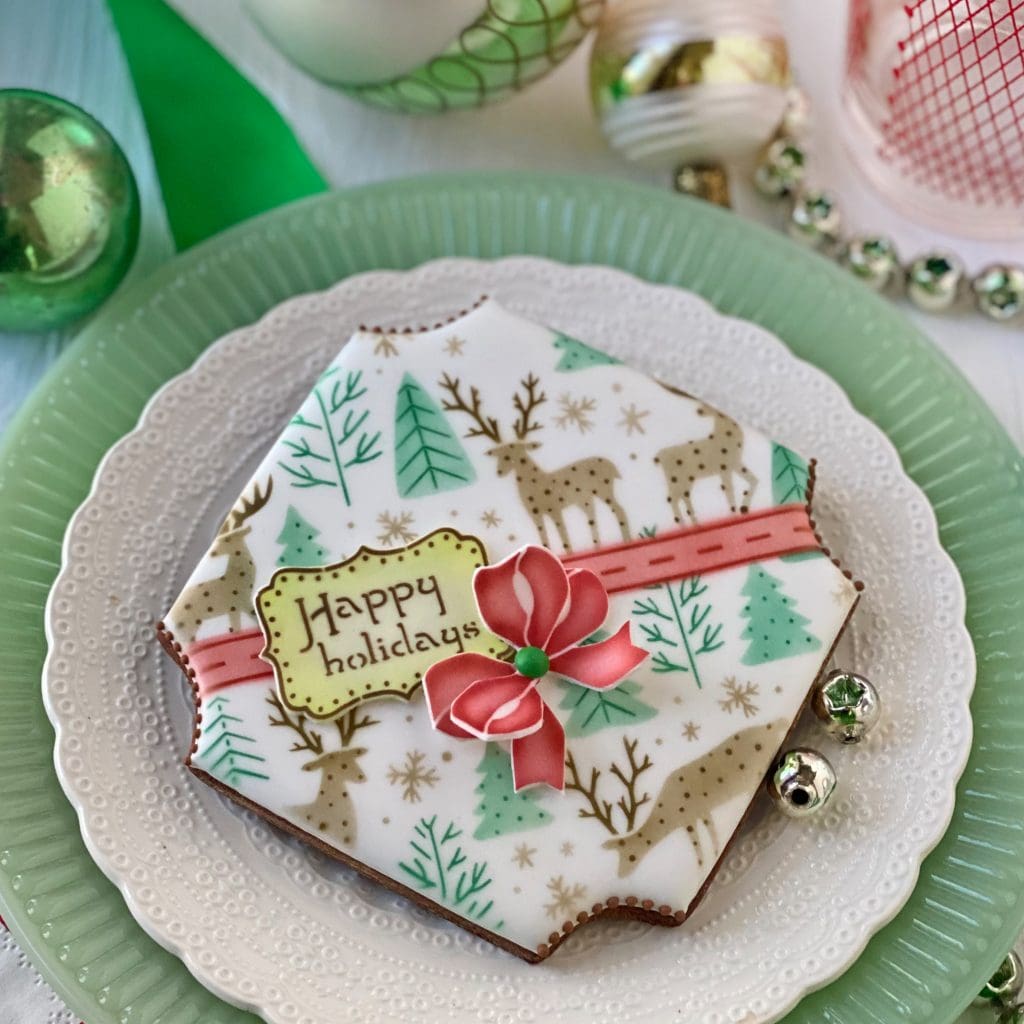
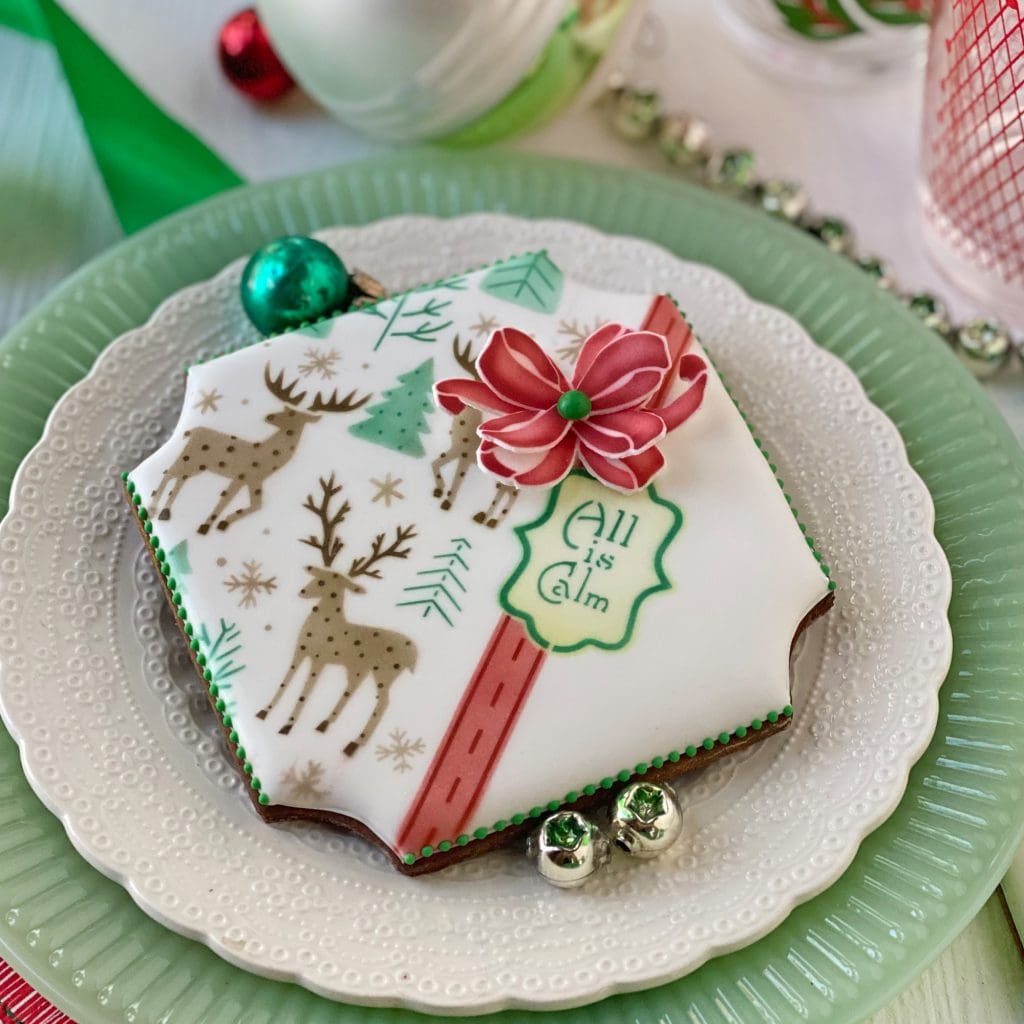
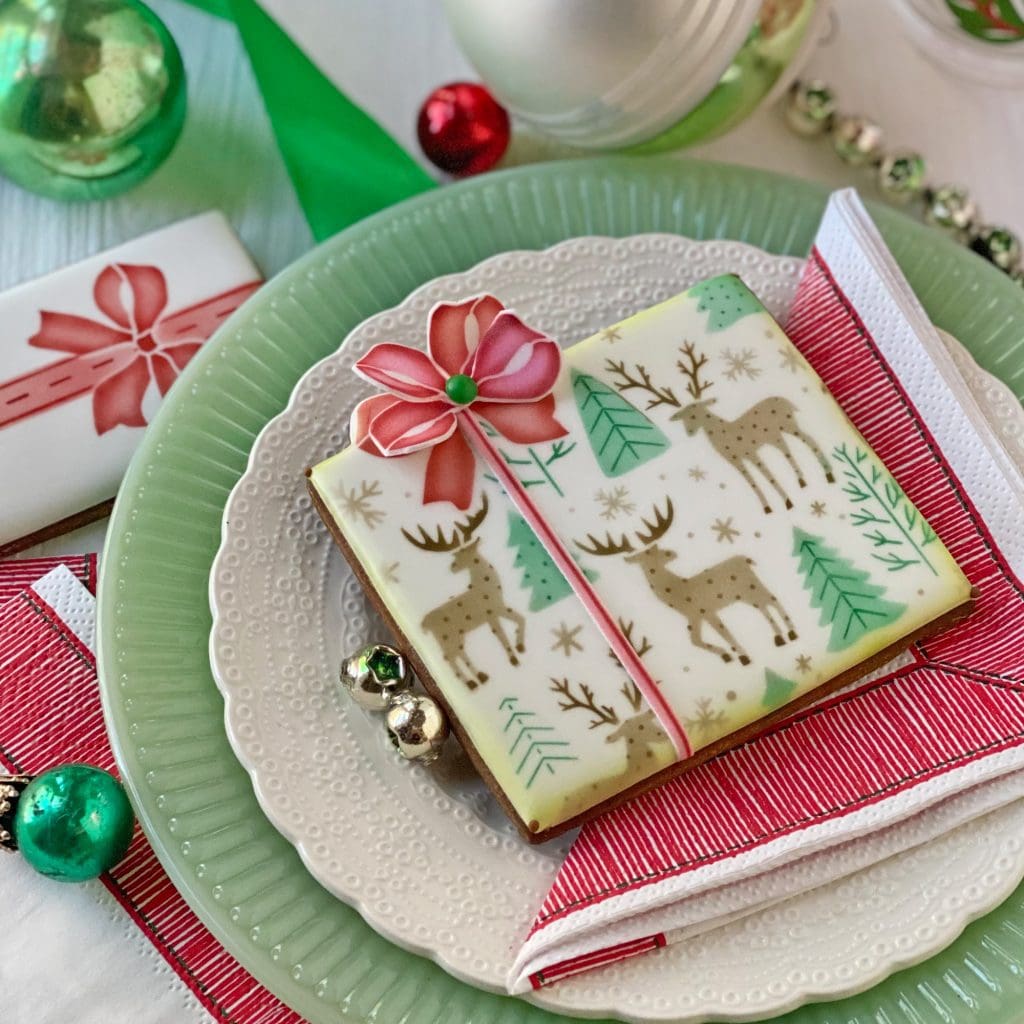
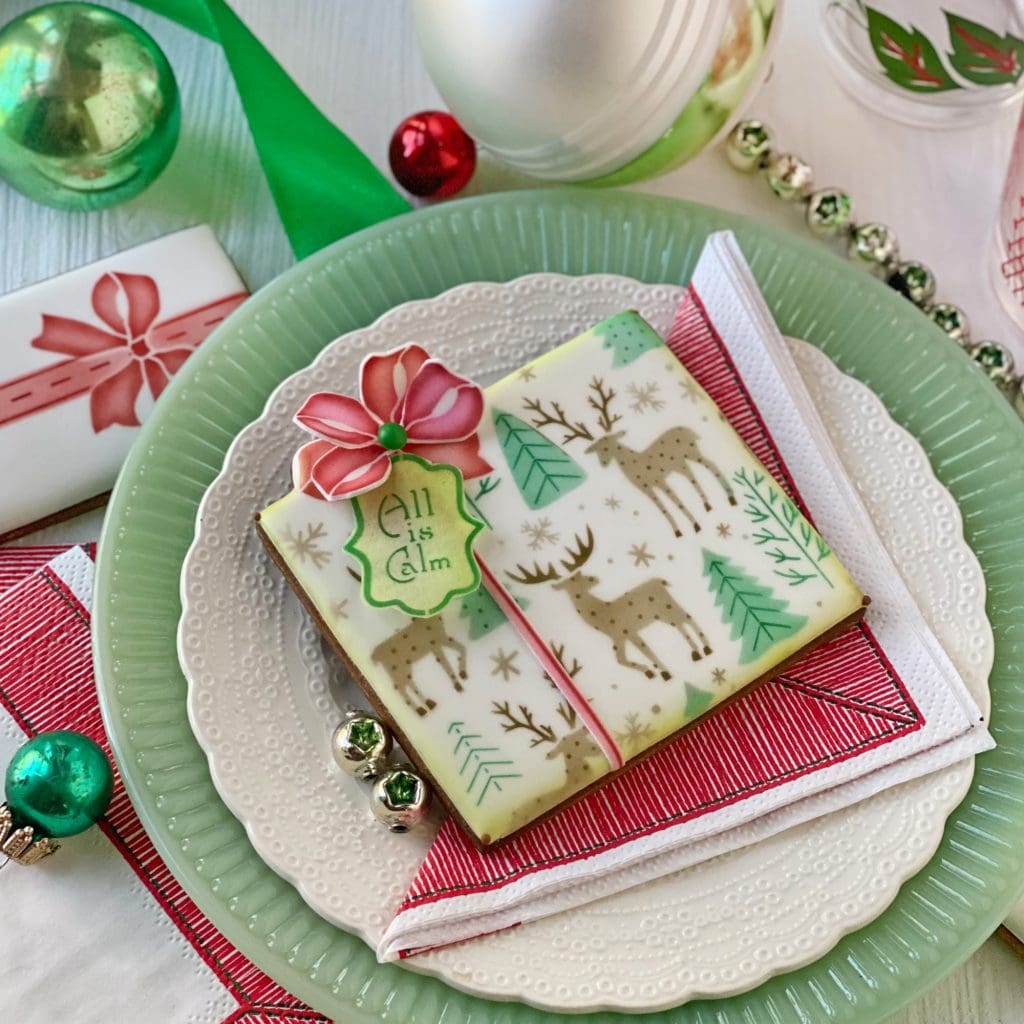
As you can see in the two cookies below that use it, it’s shaped so that the double-looped bow nests snugly in the upper left bump-out. In the first cookie, I airbrushed that bow directly on the cookie, but then added more dimensional appliqués on top.
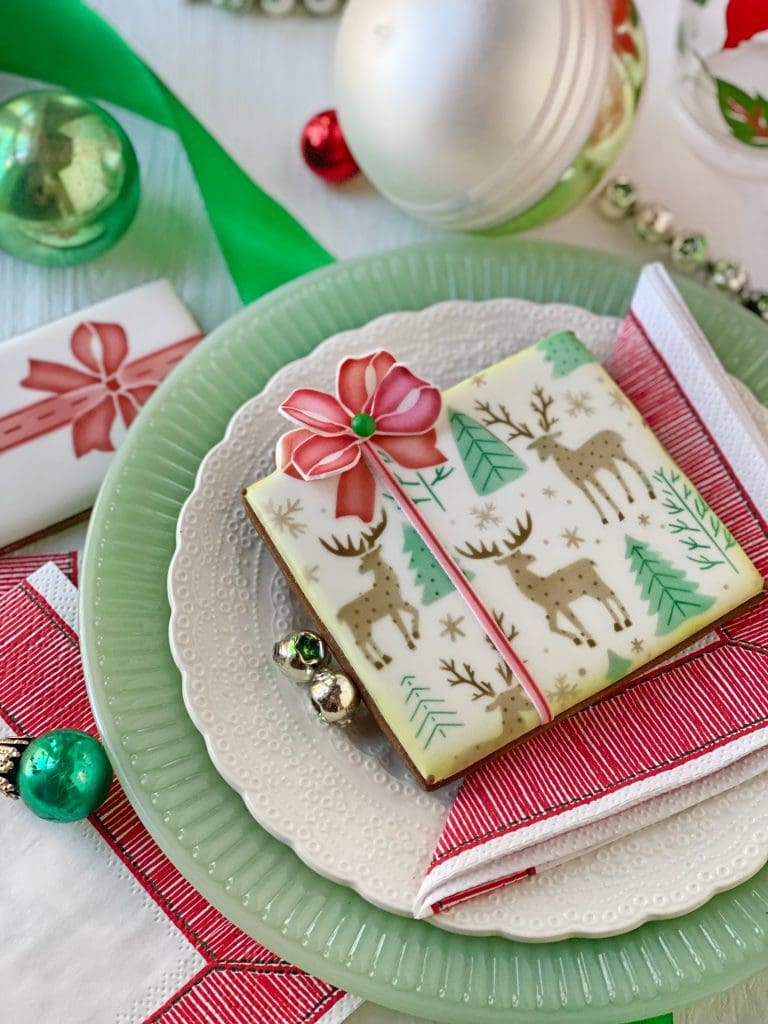

Here’s a closer look. Note that the ribbon is a conformable fondant appliqué, made using a single thin line from the foreground stencil.

I also opted for wafer paper messages, which are translucent and more delicate than fondant appliqués. This way, they better resemble real gift tags, which is so apropos for this cookie shape!

In this second variation, the bow is a double-decker fondant appliqué, whereas the ribbon was airbrushed directly on the cookie. I also skipped the electric green airbrushing on the edge, so the overall look is a little less luminous.
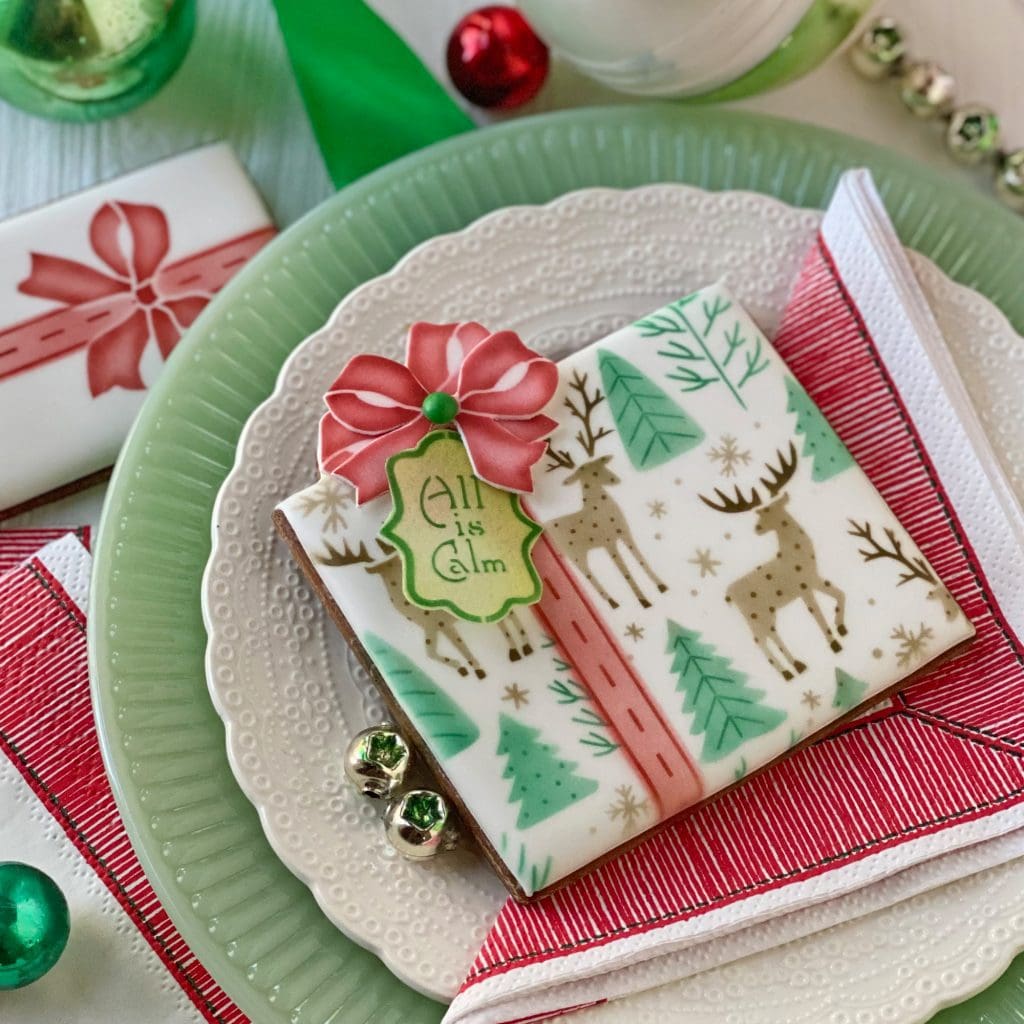

And that’s a wrap (pun intended)! I leave you with one last look at these sets in my fave brown-blue-green palette!

For more stencil inspiration, including other Christmas sets and my new cookie cutter line, check out the links below.
If you have any technical questions about these stencils, just email me at sweetlife@juliausher.com or leave a comment below. Please, however, direct all ordering and Stencil of the Month Club questions to my stencil partner, Confection Couture Stencils, at service@confectioncouturestencils.com. Thank you!






Join Julia’s mailing list for event announcements, news, and special offers.
Copyright © Julia M. Usher, LLC, ALL RIGHTS RESERVED.
Be the first to hear about my latest events, tutorials, and product announcements by subscribing to my newsletter!
Schedule willing, I release one each month, roughly mid-month. And, guess what else?! Once you subscribe, you’ll receive a special one-time coupon code for 20% off my online tutorials. The code will be delivered in your subscription confirmation email, so keep your eyes peeled (as it cannot be resent). Thanks in advance for subscribing!
Live sweetly, Julia
This website uses cookies so that we can provide you with the best user experience possible. Cookie information is stored in your browser and performs functions such as recognising you when you return to our website and helping our team to understand which sections of the website you find most interesting and useful.
This website uses Google Analytics to collect anonymous information such as the number of visitors to the site, and the most popular pages.
Keeping this cookie enabled helps us to improve our website.
Please enable Strictly Necessary Cookies first so that we can save your preferences!